Ready for action: An example of creativity in the classroom

It’s the time of year again to dive into the ocean of raising awareness about environmental issues and inspiring students of the 5th grade to think about ways they can protect our planet. As we went through this unit, and among other ideas that they had, the children expressed the will to create placards to encourage other students in the school to care about the environment. Now, I happened to have a whole box of used markers that were just rubbish, but I had heard about such markers being used to make watercolour.

First, we took 10 of our classroom minutes to take the felt tips and some of the inside sponges that hold the colour out of the plastic parts, and then group them into two major categories: Warm colours and cold colours. We put the plastic remains in the recycling bin.

IMG 20230224 102933  IMG 20230224 103001

Then, we added some water in the jars, and left them for a week near one of the windows in the classroom. After that, they were ready to use.

IMG 20230303 100249

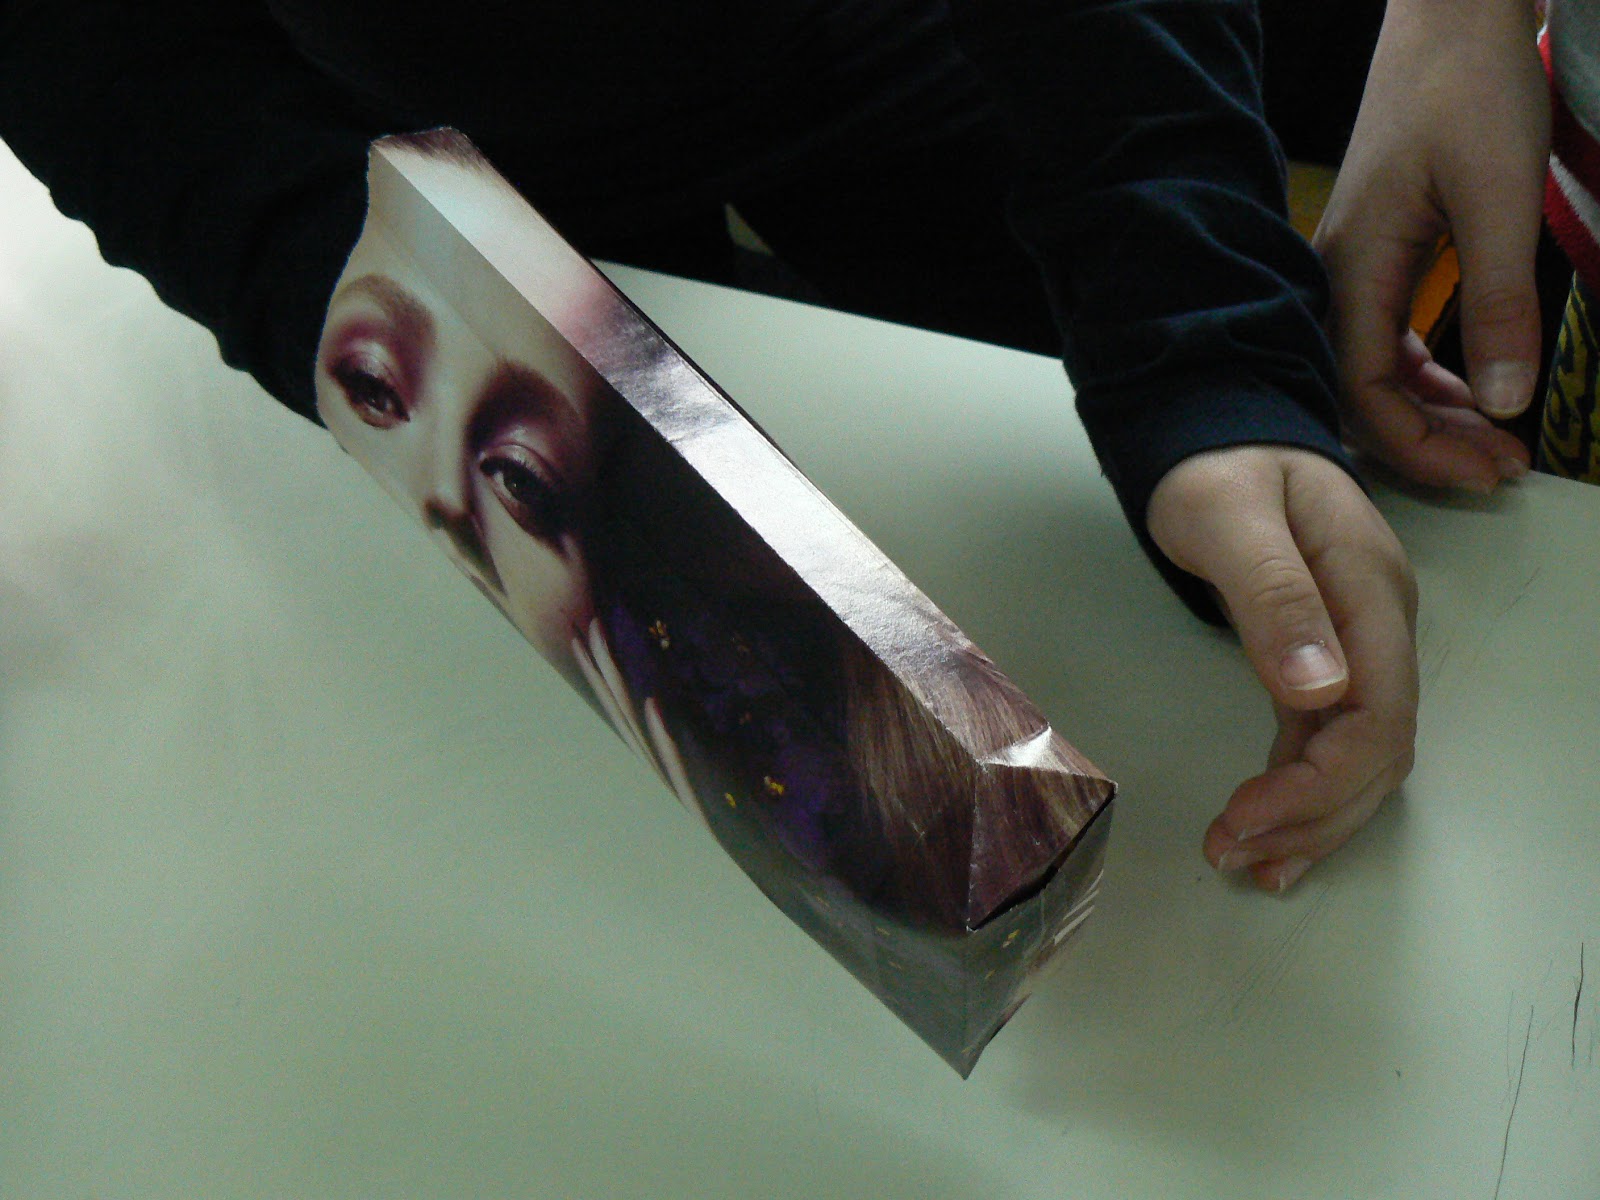
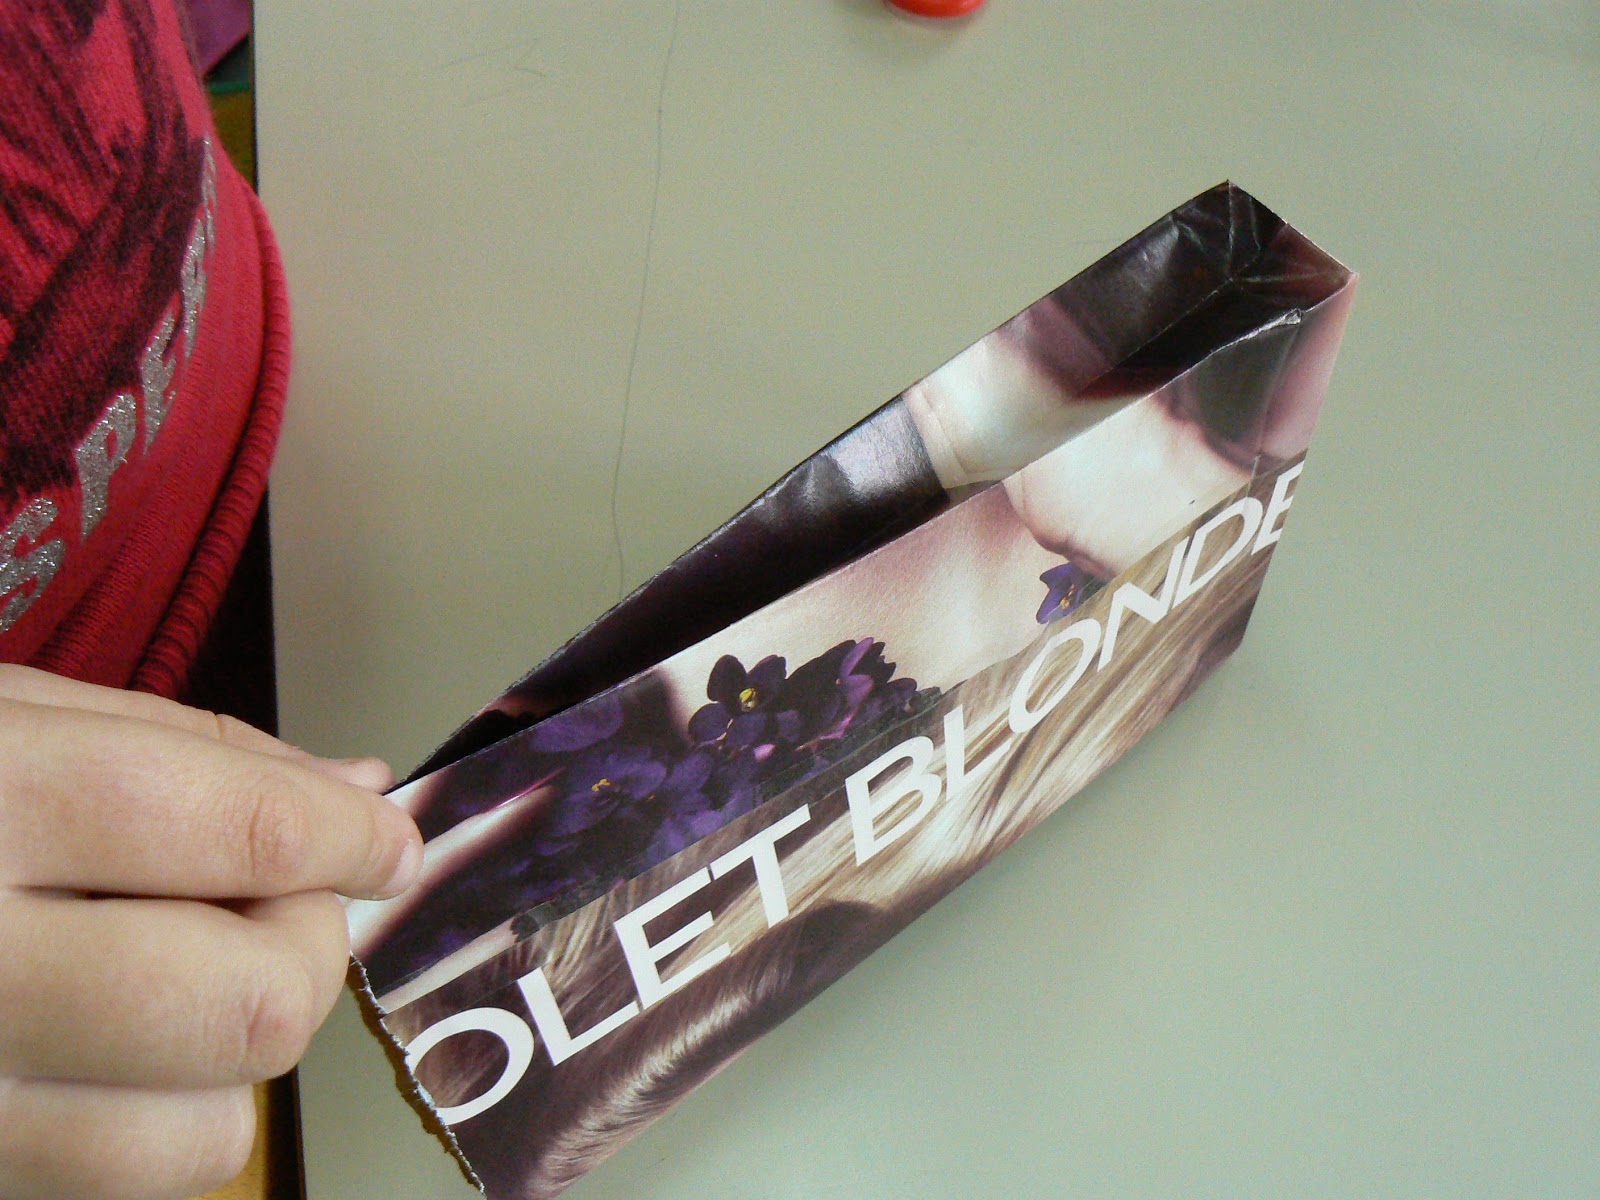
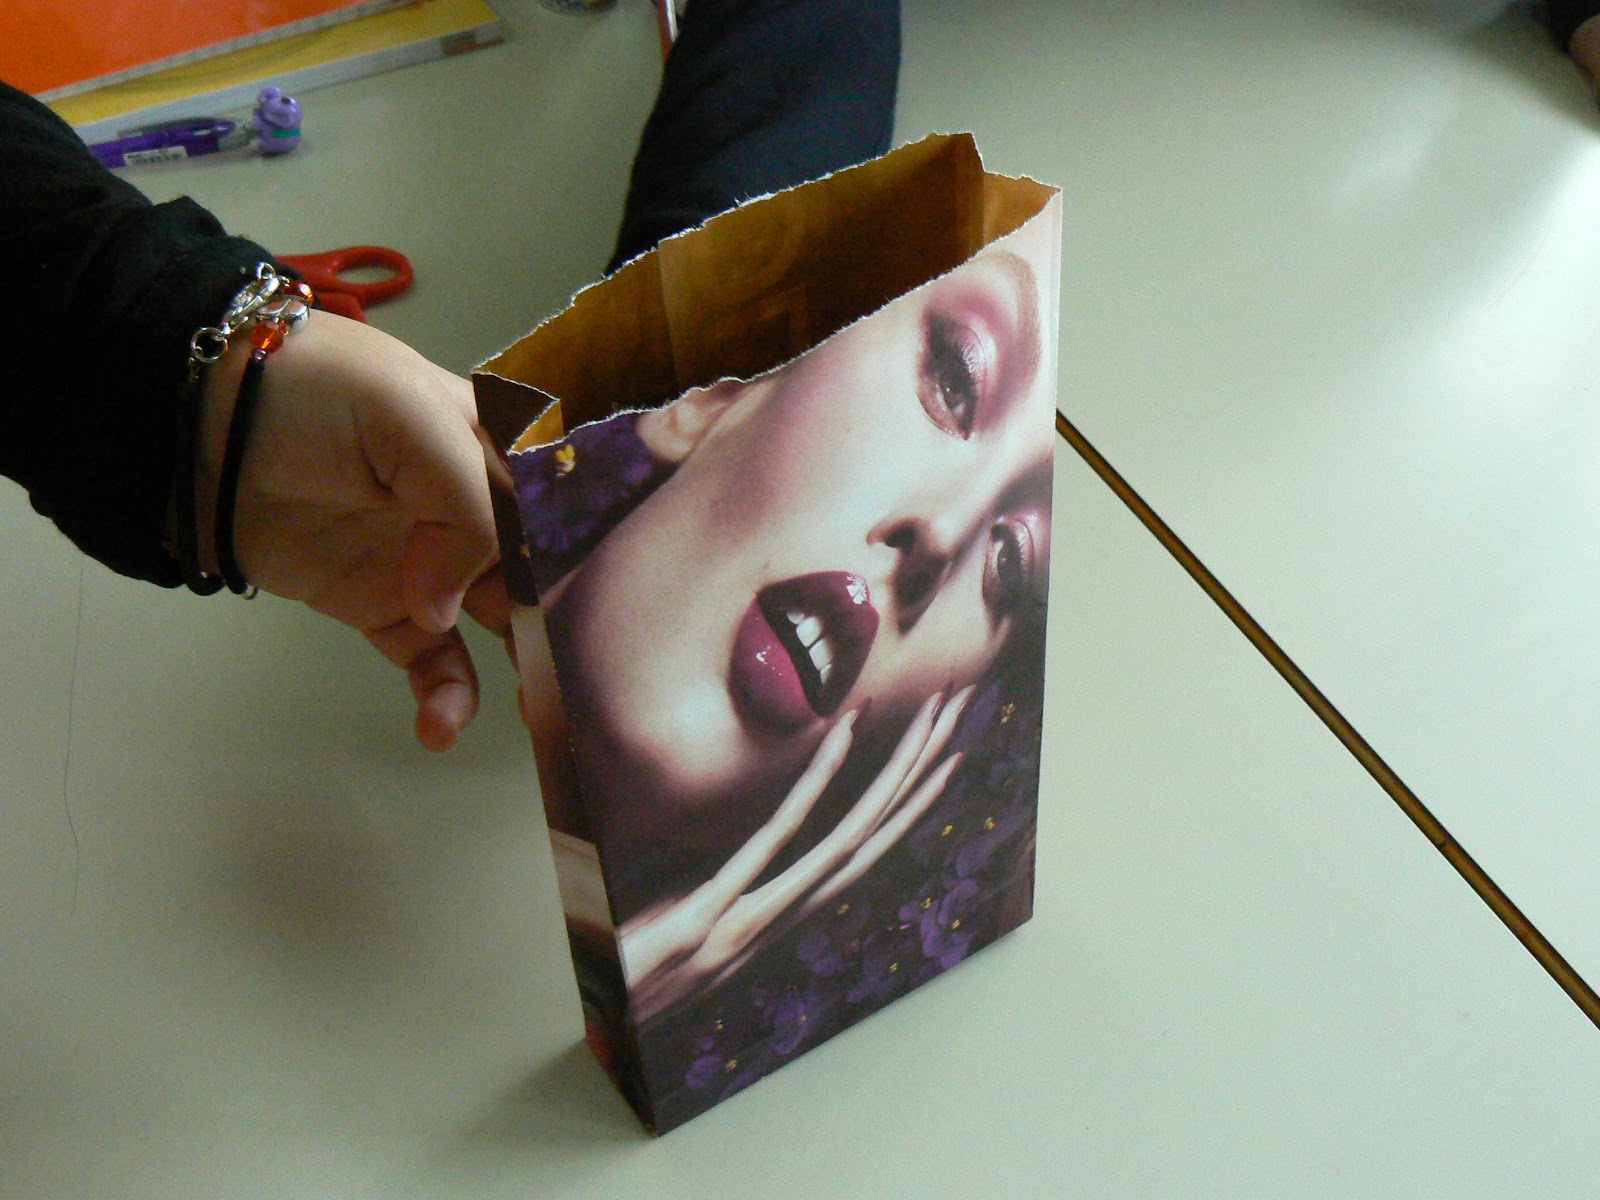
In the end, the cardboard pieces (that came from a box which held photocopy paper) started looking like this, and they were ready to write our messages on.

IMG 20230303 100237   IMG 20230303 100225

IMG 20230303 100205

In the end, we are planning to hang these from string and place them in spots around the school that is easy for eveyone to see. Stay tuned!

The class garden book – finished!

Mr. Angelos Michalopoulos and his E2 class did a wonderful job creating an amazing botanical garden and then hosting an event of guiding other classes through the various plants, talking about the qualities that they have, explaining the procedure of composting, helping each student plant a seed and then give them the pot to take at home, showing students how to make a homemade mosquito repellant, how to make a herbal mixture to send off unwanted insects and protect new plants, talking about healthy eating habits and even playing a game to illustrate them. Finally, students had a chance to see the garden book the E2 class created during our English lessons, with the names of the plants in Greek and English and the qualities that they have, in both languages. My students were so proud to present their book and everything else they did with their teacher.


20160613_085608

20160613_113045


Great job, everybody!

Reusing old toddler blocks to play around with sentence structure

Teaching the Simple Present never seems to stop. It is the most basic tense, the tense of tenses. And my 5th grade students needed help understanding sentence structure, especially in the interrogative form. So here’s what we did: I asked them to bring their old toy blocks, from when they were toddlers. Then we taped words and clusters of words on them. Then we played. We kept score among the teams, and I was surprised that even the most reluctant students now wanted to take part! Strong and weak students took their turn making mistakes to learn from. And many, correct, different sentences were created!


 12767677_10208736252381180_367816127_n

Special thanks goes to my colleague Maria Dimitrakopoulou, for sharing this idea on Facebook, and to our School Advisor, Mrs. Marianthi Kotadaki, who is a constant source of inspiration for sharing!


Tutorial: How to reuse old magazine pages and make paperbags

P1250632
This tutorial was produced with the help of E class students, to demonstrate a way of reusing paper in a new project. Paperbags are very fun to make and they are also practical, as they can be adorned, filled with goodies like candies, pencils or stickers and presented as inexpensive, handmade gifts in kids parties.Here are the instructions on how to make one:1. To make one paperbag, you need: One torn page from a magazine, preferably one you find appealing (the students chose this page for the tutorial), tape and scissors. You can also use brochure or leaflet pages.

2. Turn your page with its ‘good side’ facing down, onto the desk, and the torn side at the top.

3. Fold your page like this and then tape the edges together.

4. Fold the bottom part.

5. Open the folded sides apart and push them down like this.

6. Fold each side again, so that they face each other and tape them down.

7. Fold the sides like this, then turn your paperbag over and do the same towards the opposite side.

8. Open your paperbag gently and start forming the inside creases.

It’s ready!