Dydd Gŵyl Dewi Sant or Saint David’s Day!

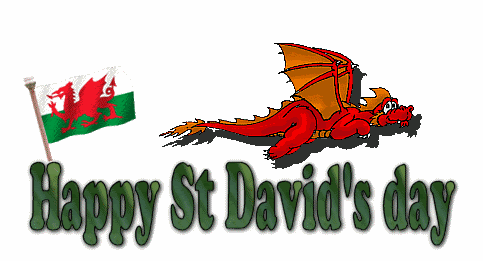
Dewi Sant or St. David is the patron saint of Wales. Saint David’s Day is celebrated by the Welsh on the 1st of March.

But who was Saint David?

He was a Celtic monk and bishop who lived in the 6th century and helped to spread the word of Christianity across Wales. His most famous miracle is that while he was preaching to some followers, the ground rose up and formed a hill beneath him so that he could be seen and heard better. He also founded several monasteries in Wales during his lifetime. He is commemorated in Wales by wearing daffodils and leeks. St. David was said to have advised the Welsh to wear a leek in their caps when they battled the Saxons so that they could distinguish friend from foe in battle. Both daffodils and leeks are  national emblems of Wales and are often worn attached to a coat or hat. Some children wear the Welsh national dress of a tall black hat and long dress in red and white. 

Traditional Welsh dress

For a tour around Wales, press here

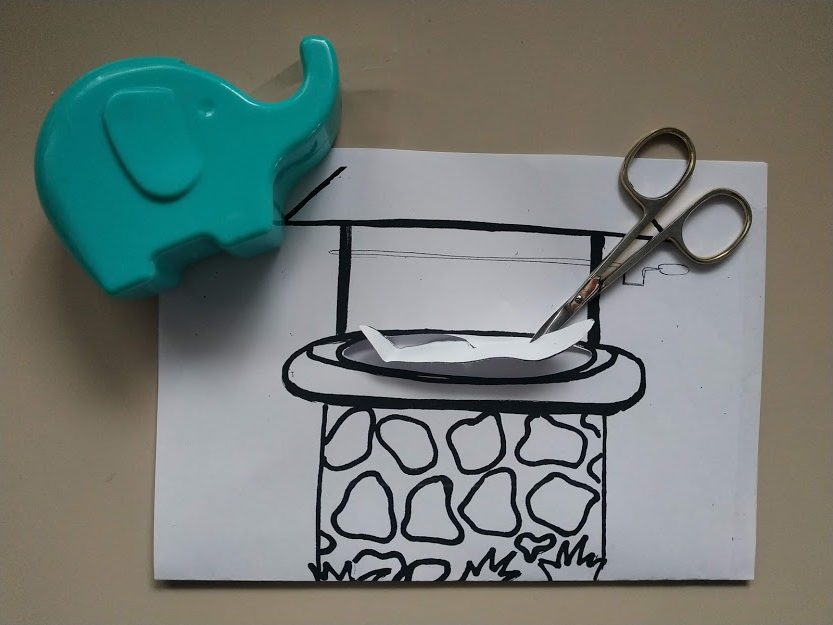
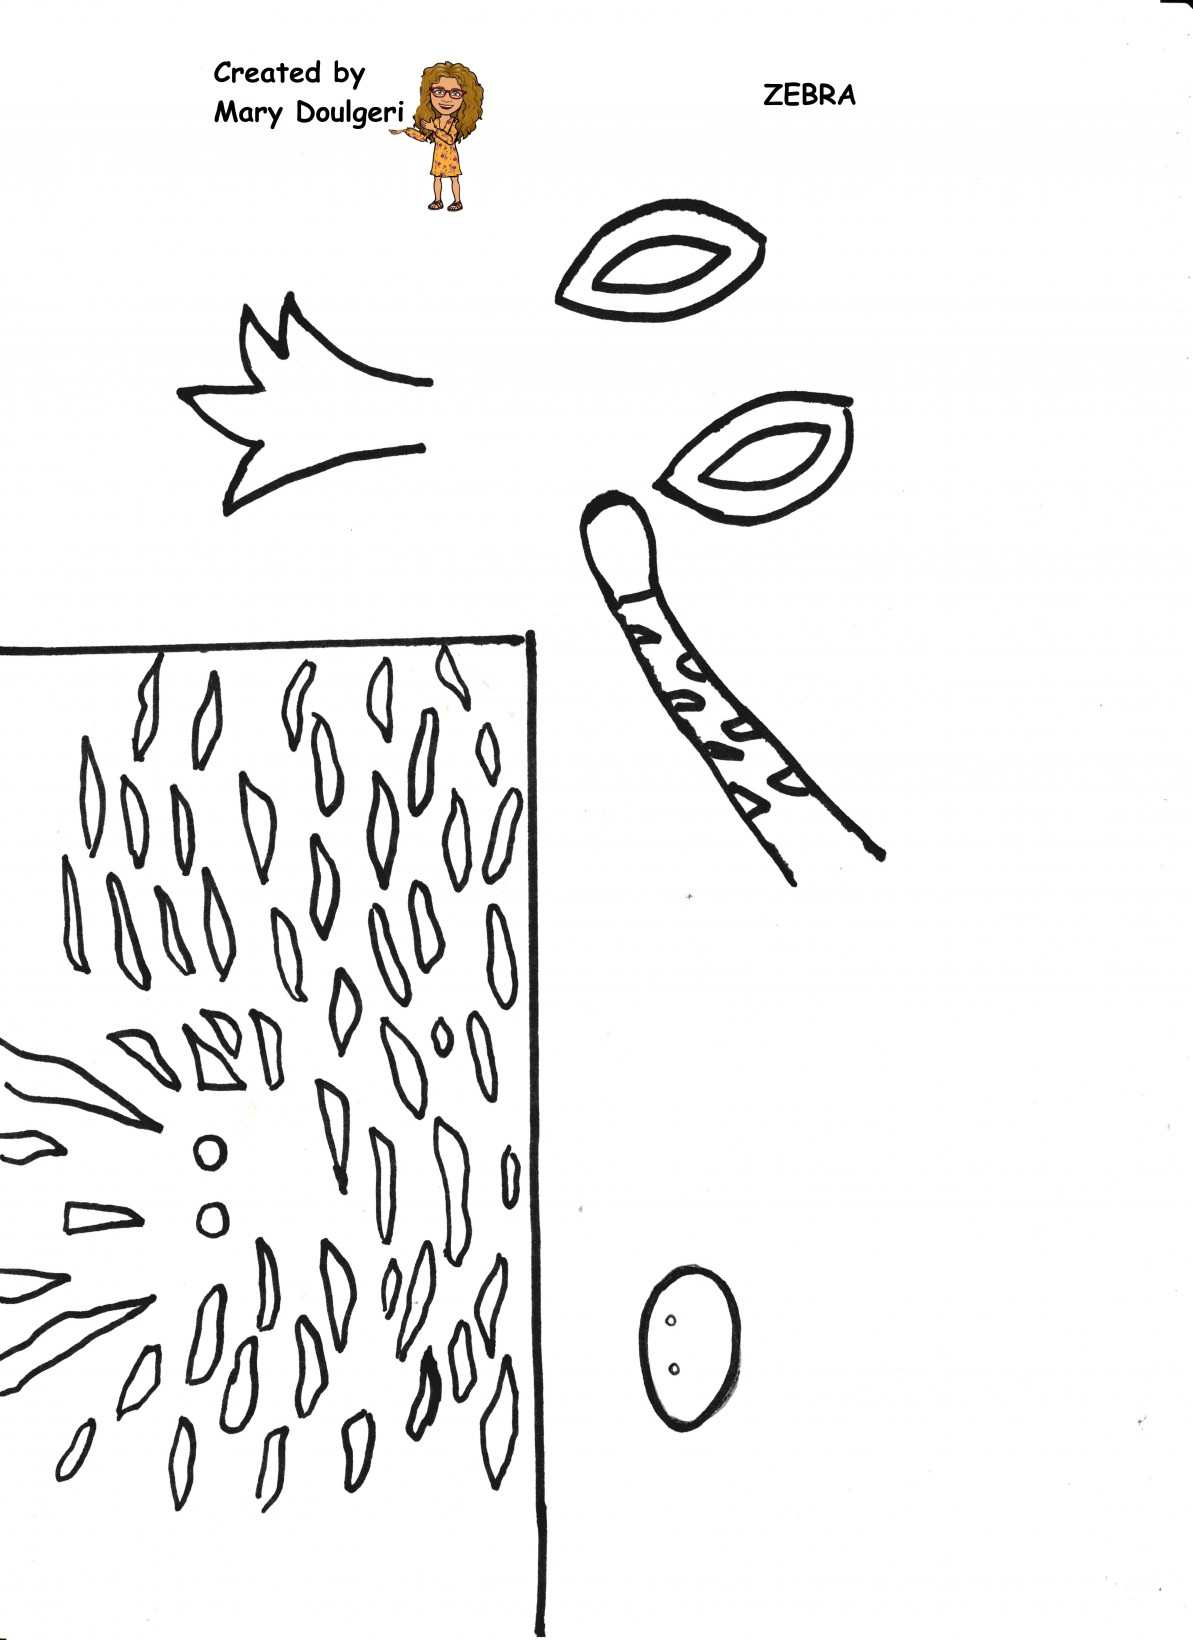
Here’s an easy daffodil craft, one of the national emblems of Wales:

And here’s the template:

For more crafts and fun activities (and even some Welsh recipes!) visit this blog:

Filthy wizardry, Saint David’s day crafts

Lorax_EarthDay_Logo

Seuss inspired craft: Meet the Lorax!

One of my favourite Dr. Seuss’s characters for his environmental sensitivity is definitely the Lorax! Dr. Seuss’s beloved story teaches children to treat the planet with kindness and stand up and speak up for others.

The book is the perfect gift for Earth Day and for any child—or child at heart—who is interested in the environment, recycling, preservation of nature. It was Dr. Seuss’s personal favourite of his books. In his own words: ‘The Lorax came out of me being angry. In The Lorax I was out to attack what I think are evil things and let the chips fall where they might.’

(You can get a lot of ideas for ‘The Lorax Project’ here: We speak for the Earth-The Lorax Project )

The 2012 feature film is also ideal for classroom use in combination with any environmental project: it teaches children the importance of protecting their environment and that nature is not something disposable and pointless. It warns against the dangers of being too greedy and of not thinking about others. (You can get some ideas for after viewing conversations here: Teach with movies-The Lorax )

I have made a Lorax puppet to be used along with the book and/or film. It was crafted in the same way as this wonderful panda: How to make a panda pin puppet

 Here he is:

The Lorax puppet in action!

Here are the templates:

5 Little Froggies

An easy and fun craft – activity for 1st graders based on the song ‘5 Little Froggies’!

After we teach the song (described in http://rcel.enl.uoa.gr/peap/taksi/kyklos-b/numbers-1-5#material ) and encourage children to make the accompanying moves with us, we hand out the first photocopy, folded in two, and sellotaped at the edges. If we want to help 1st graders we can cut the shape of the well hole before we give it to them, as it will be rather challenging for those little hands to handle their scissors around the hole.

Now, it’s time to perform the song seated!

We sing the song and when we come to  ‘…and down he fell’, one froggie goes into the well! You’ve guessed right! All froggies end up in the well! Which is a good thing, as we know they won’t be lost, safe in the paper well pouch!

Children love it and they get to keep the well and froggies to use and play throughout the year!

Here are the templates:

EFFECTS (2)

Make your own Zoo with paper rolls from the loo!!!

A nice way to keep your 1st graders happy and engaged when you have taught them the wild animals ( tiger, giraffe, panda, lion, zebra, etc)!

Supplies needed:

Paper rolls (regular or bigger)

A4 paper or cardboard paper

Crayons or coloured pencils

Scissors

A wide box

Pipe cleaners

Stapler

Glue

Your fantasy!!!

I have created some templates which we use in the beginning. But then, once the kids get the hang of it, they can use their own ideas and create their own versions of the animals! They can really get very imaginative and creative!!!

Here are some templates:

OR, you can create a whole forest!

Extra supplies for the forest:

A big sheet of thick cardboard paper

Green crêpe paper

Cardboard paper in various colours

Don’t forget the basic ingredient: your fantasy!!!

herring1

Valentine crafts

Here are two ideas to do for your sweetheart on St. Valentine’s Day!

No.1

Make a great origami heart corner bookmark, scribbling a special little love note on it!

Watch the instructions here: Heart corner bookmarks

or follow the advice given here: Heart Corner Bookmarks 

And how about placing it in the corner of a book with love poetry for your beloved one?


No.2

Paint the following pictures (or make your own!) using Keith Haring’s unique style!

Who was Keith Haring? 

Keith Haring was a well-known street artist and pop artist in the 1980s and 1990s. Inspired by art and graffiti in New York City subways, artist Keith Haring created iconic cartoon-like figures in public spaces all over the world.His drawings were quite simple – pyramids, flying saucers, human figures, winged figures, television sets, animals, and babies. Soon his drawings became a kind of signature, and the people of New York first (where he lived) and then all around the world recognised his style immediately.

Learn more about his life here: Let’s learn about Keith Haring! and here: Intro to Keith Haring!

Here are the 2 colouring pages:


Ahoy mates!

Every year when we finish Unit 2 (Captain Cook) from Magic Book 2 we always make this Pirate hat, wear it and sing the song (I’m a pirate and my name is Cook…) holding our treasure maps and enjoying ourselves! This year with the mask it was a bit weird! But we pretended it was a mouth patch!!!

Aaaarrrrgggghhhh!

It’s very easy to make the hat: just photocopy the template (I made it very easily), glue it to cardboard paper, and fasten a headstrap (made out of cardboard, too) adjusting it to the… pirate’s head. (It’s actually a headband, not a hat!)

You can download the template here:

We built this city!!!

What with all the technology and the digital tools we use I’ve come to appreciate the simple, crafty activities we do in the classroom…

Here’s a craft that we can start in D and could evolve into a communicative activity in E and St classes!

We can start it in D class, when we have taught the places / buildings in a village/town/city (Unit 3, Lesson 2, My city). The students bring an empty carton of milk (or an empty packet of biscuits) and glue a piece of paper on it (A4). On the piece of paper they can each draw the building/shop they like.

For our project we used this template so that the buildings/shops would be of a specific size and look homogenous on our town. https://drive.google.com/file/d/1_D7RFW1fAt_pHGnvrM3z9C1gnRvio49a/view?usp=sharing

We can either use a big cardboard sheet on a desk or a big piece of a Styrofoam sheet. Then we put everything the students created and we ‘design’ our city: where the streets, the buildings, the parks (and anything else the students’ imagination would deem necessary!) would go/ any trees, inhabitants, etc they would bring and add in their city.

We can then use our ‘city’ in E class (Unit 3, Lesson 2 ‘How can I get to …?’) and St class (Unit 5, Lesson 2 ‘Transportation’) for actual 3D practice: in pairs the students have to ask for and give directions to a specific place in the city. After students have studied the expressions for asking for and giving information 

(here’s a useful handout: Asking-for-giving-directions.pdf)

a dialogue like this can ensue:

-By car or on foot? (One of the students holds a car and a figurine of a person. The other student has to choose the transportation means)

-Goodmorning. Could you show me the way to… (pointing to a shop/building)?

-Go down (… street – the students have given names to the streets) and take the (second) turning on the (right) into ….Street.

-(The other student follows the directions)

-The (…) is opposite/between/… You can’t miss it!

-Thank you very much!

-You’re welcome!


The gains from this activity are manifold: apart from being fun and interactive, students get an actual sense of direction, not to be acquired by any activity on a piece of paper (usually a map).  

Have a look: 

Visualising tenses

Following the advice of my fellow teacher (now a pensioner!) Evi K., I created this imaginative way to help students remember the 4 basic tenses of the English Language, namely the Simple Present, the Present Continuous, the Simple Past and the the Past Continuous. 

The implementation of the plan is quite easy: you need a large flat piece of Styrofoam, some pieces of paper, some adhesive magnetic rolls, and, of course, a large magnetic board, coupled with some patience and skill in cutting the Styrofoam to the desired patterns.

The rationale behind the craft is to help students visualise the formation of some of the most basic tenses, namely the Simple Present, the Present Continuous, the Simple Past and the Past Continuous. Students, especially those who are strong in visual-spatial intelligence (cf. Gardner’s Theory of Multiple Intelligences) will be able to recognize patterns easily and, thus, memorise the tenses.

The use of certain shapes also helps towards the memorisation of the conjugation of verbs in those tenses (for example the triangle of the third singular person helps students associate it with the –s ending).

Have a look:


IMG_20201121_113902

‘A party in the jungle’ puppet theatre No. 2

This is my version of the ‘A party in the jungle’ using an empty cereal box.

I made my own small puppet theatre based on the idea of the Halloween one by Kids English Theatre (https://www.youtube.com/watch?v=6ZPQMy6cZBQ)

Here’s what I did: I took a box of cereals. I used a green background to convey the idea that it’s a jungle. I cut the figures carefully from the PEAP material (http://rcel.enl.uoa.gr/peap/taksi/kyklos-b/party-jungle?fbclid=IwAR06F3sPtRRn93ZTuoVWyVb47l32MiqLH-QgLUqZNufn2uPlQ7f-UOde04Y#material).

I stuck the image of the elephant and Leo on another piece of paper and added the missing parts as best as I could. I used the PEAP flashcards for Leo (http://rcel.enl.uoa.gr/peap/taksi/kyklos-b/fun-animals?fbclid=IwAR0-n-EXV0RA_J1icO7RtUlMNDSOX3ht0qv_UH8bUrodoExy3aPR1nquew0#material)

Don’t throw away the remaining bits of paper! You can use them in your green background.

Special thanks to my younger daughter, Kate, who was my very patient helper!

Well, hope you find it useful… https://www.youtube.com/watch?v=bydhWjRH9io&fbclid=IwAR143qf9AgWBPbWoc1un1Qe0n0VfyqO4e56vNdnBruNQyjuc_mp_lq4qigg

IMG_20201121_081836

‘A party in the jungle’ puppet theatre No. 1

I tried to find an engaging and enjoyable way to teach 1st graders the jungle animals and Leo’s birthday… So I went around the house looking for the props and things to help me with my quest! Mind you, my daughters are not that young anymore, so it was more difficult to gather all the stuff I needed (I have left almost all my puppets at school…)

Well, OK, the parrot is not that much of a parrot, the yo-yo is a spinning wheel, the banana is a plastic corn and my zebra is yellow and blue (!!!) but I managed to get the meaning through! It was fun for the kids, who asked for a second and a third time! The cardboard theatre is something I had from a series of Greek fairy tales with puppets on which I added ‘the African jungle’ banner. I guess it’s not that difficult to make.

I’m sending you my video in case anyone finds it helpful !

https://www.youtube.com/watch?v=zkMKZMVcneA

This is the ‘performance’ on WeBex!