“Frog and Toad are Friends” is a beloved children’s book written and illustrated by Arnold Lobel, first published in 1970. It is the first in a series of four books featuring Frog and Toad, who are best friends. The book consists of five short stories, each highlighting the strong bond and adventures shared between the two characters. The stories are:
Spring – Frog helps Toad wake up from hibernation. / The Story – Toad struggles to come up with a story to tell Frog when he is sick. / A Lost Button – Frog and Toad search for Toad’s lost button. / A Swim – Frog and Toad go for a swim in the river. / The Letter – Frog sends Toad a letter to make him happy.
A classic read for children, celebrating the power of friendship between a Frog and a Toad, two opposing characters. Frog is like the sunshine and Toad needs that sunshine.
Arnold Stark Lobel (1933-1987) was an acclaimed American author and illustrator of children’s books. Born in Los Angeles, California, and raised in Schenectady, New York, Lobel showed an early interest in drawing and storytelling. He attended the Pratt Institute in Brooklyn, New York, where he studied art and began his career as an illustrator.
Lobel is best known for his “Frog and Toad” series, which includes: “Frog and Toad are Friends” (1970) / “Frog and Toad Together” (1972) / “Frog and Toad All Year” (1976) / “Days with Frog and Toad” (1979).
Lobel’s work is celebrated for its warmth, gentle humour, and timeless appeal. His stories often explore themes of friendship, kindness, and empathy. In addition to the “Frog and Toad” series, Lobel authored and illustrated numerous other books, including “Mouse Soup” and “Owl at Home.”
Lobel received several prestigious awards during his career, including a Caldecott Honor for “Frog and Toad are Friends” and the Caldecott Medal for “Fables” (1980). His contributions to children’s literature have left a lasting legacy, and his books continue to be cherished by readers of all ages.
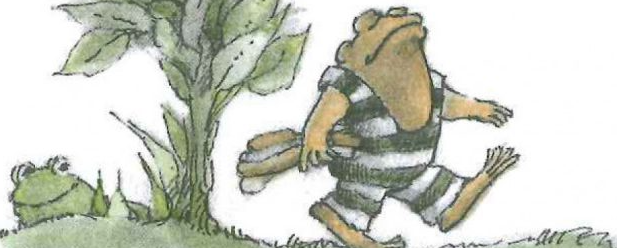
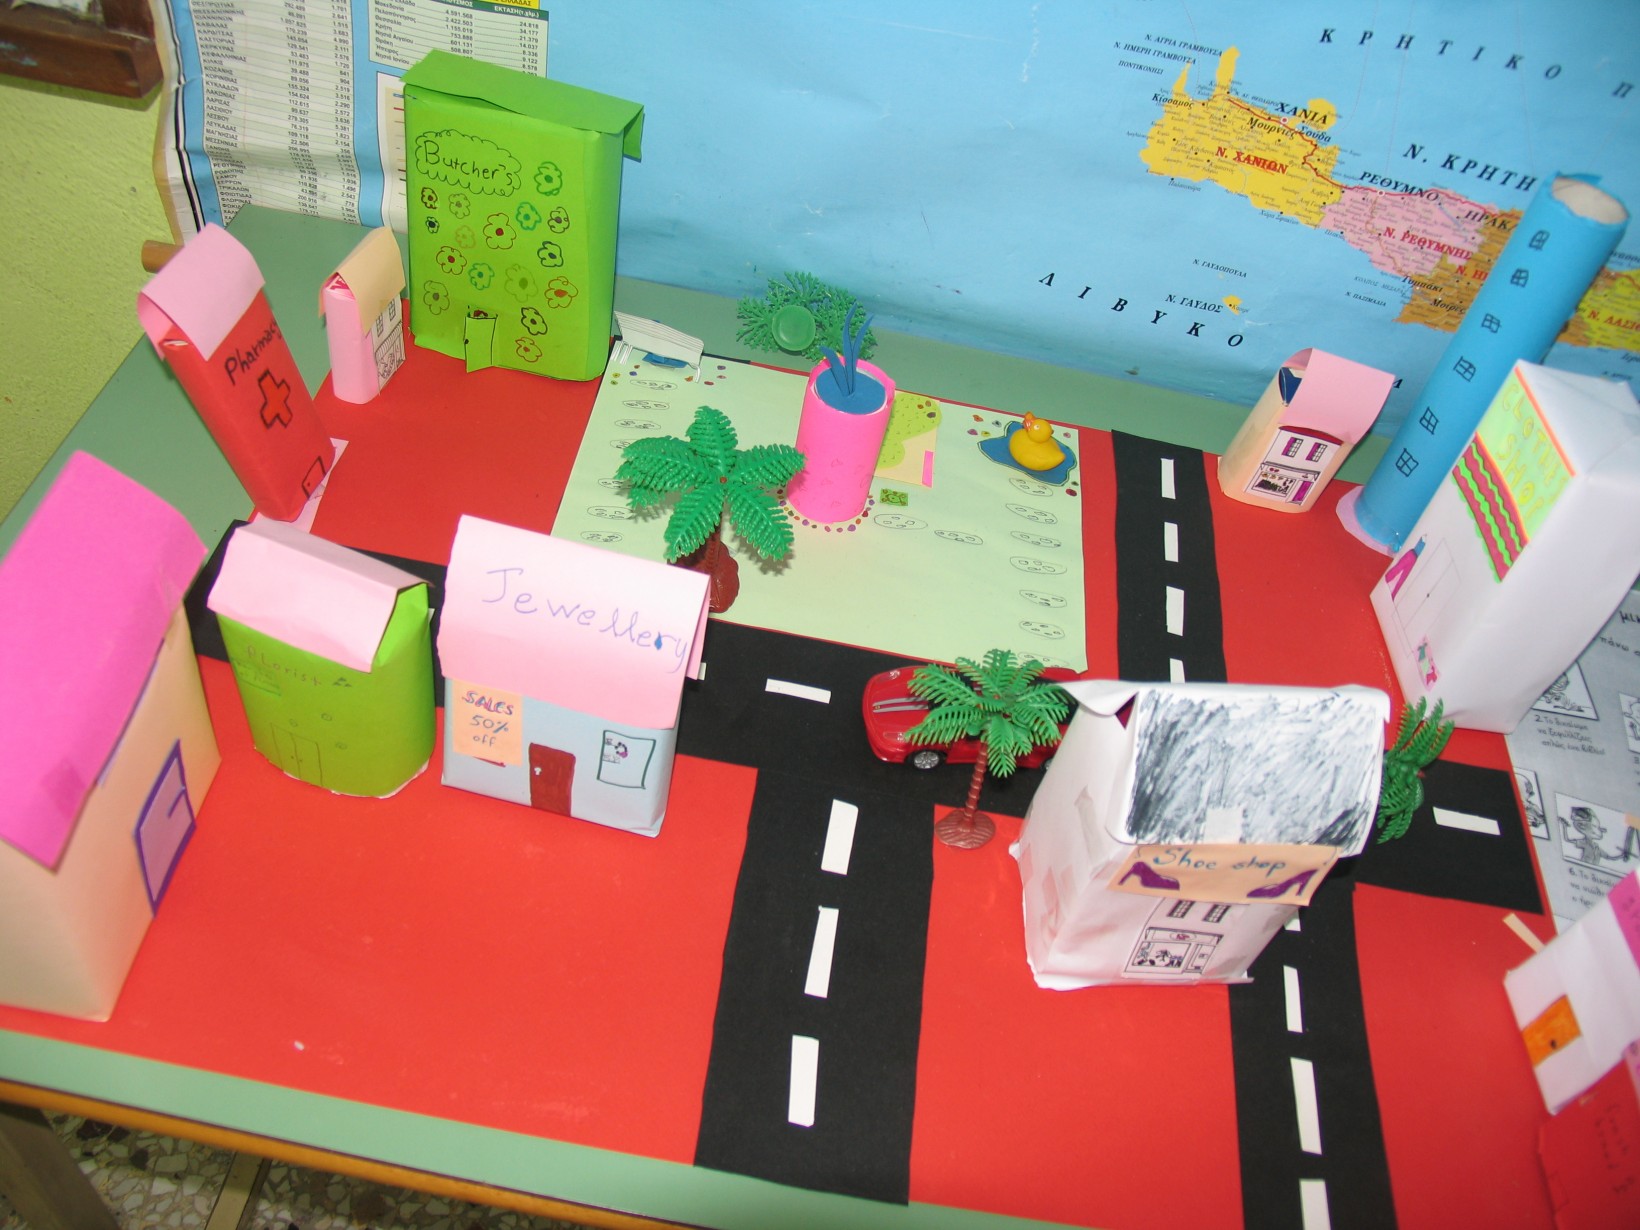
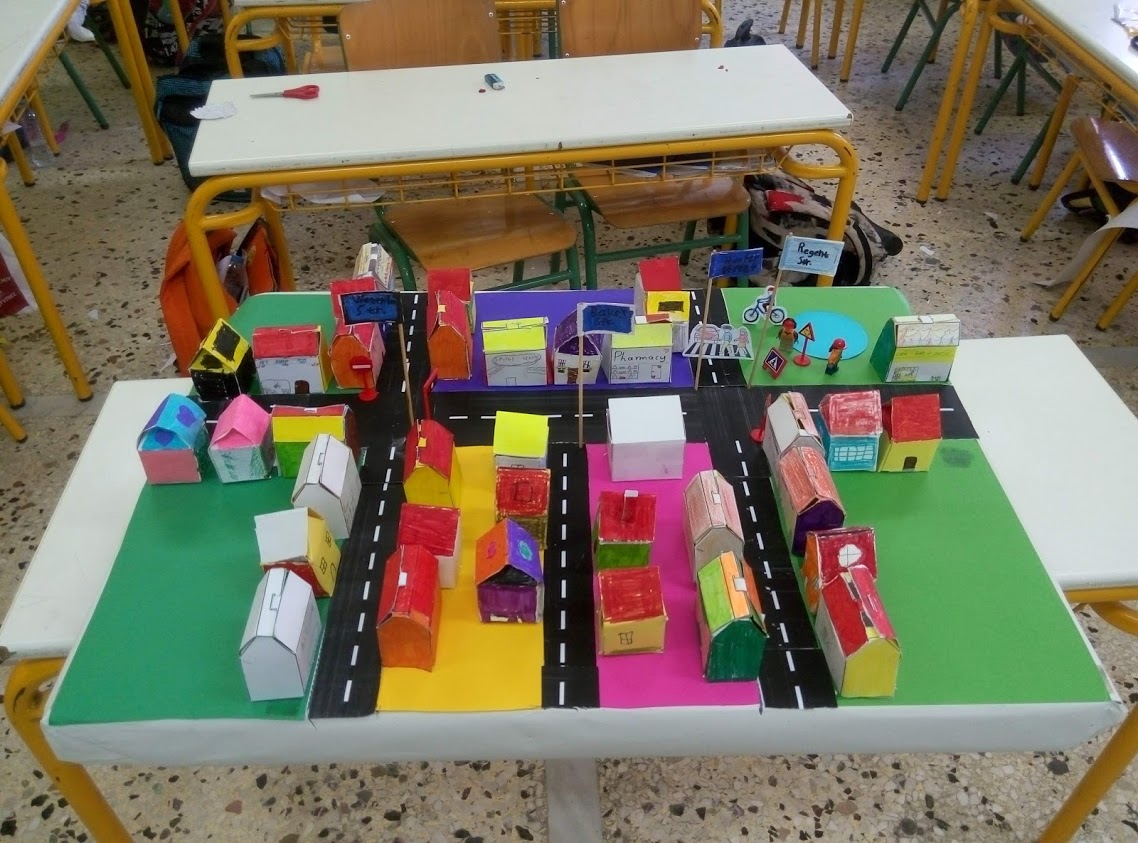
I have selected the story ‘A Swim’ for my 4th and 5th graders. In it Frog and Toad decide to go for a swim in the river. Toad, feeling self-conscious about his bathing suit, is reluctant to be seen by others. Despite Frog’s encouragement, Toad insists on privacy and hides behind a rock to change. Eventually, Toad overcomes his embarrassment and joins Frog in the water. However, when Toad’s friends arrive, his shyness resurfaces, leading to a humorous and heart-warming conclusion as Toad faces his fears.
The story gently explores themes of friendship, self-consciousness, and courage. Lobel’s warm illustrations and simple, yet poignant text capture the essence of childhood insecurities and the supportive nature of true friendship, making “A Swim” a delightful and relatable read for children and adults alike.
You can find a read along of the story here, by the wonderful voice of Mr David Gibson*:
and some worksheets I have created to be used either before or after reading the story:
‘Frog and Toad are friends – A Swim’ worksheets
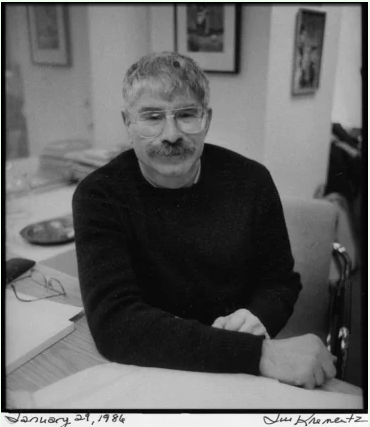
* David Gibson was born in Northern England in 1947 and began teaching in 1964. His five diplomas were awarded by the universities of Nottingham, Bristol, and Cambridge and he taught in England in junior and secondary schools for 15 years. He came to Greece in 1979 and taught English as a Foreign Language in private schools before joining the British Council in Thessaloniki in 1987. There, he taught English Language and Literature, was a Teacher-Trainer, and served as the Coordinator of Student Social and Cultural Activities.
In 1995, he took up a post as teacher of English Language and Literature at Pinewood International Schools, Thessaloniki, becoming the Chairman of the English Department in 1999. At Pinewood, he also coached three football teams, ran Guitar Clubs and School Bands, and was involved in a wide variety of other school activities and events.
David has worked for Cambridge ESOL for more than twenty years, as an Oral Examiner, Team Leader, Supervisor, Seminar Presenter, and Inspector, and is a founder and three-time board member of TESOL Macedonia-Thrace, Northern Greece, being a regular speaker and active participant in conventions and similar events.
In June 2008, he retired from full-time teaching in order to concentrate on other projects, but has continued to work with Pinewood students – coaching football, playing guitar with them, encouraging them to read and to write … and to watch birds.
You can see some of his inspiring work as the one half of the two-man English Teaching Theatre Group “Dave’n’Luke” here:
DAVE’N’LUKE English Language Theatre