Why is there a special day for older people? The United Nations created it in 1990 to draw attention to the hardships many elderly individuals experience, like sickness and loneliness.
This special day is a beautiful opportunity to honour the older adults in our lives, from grandparents and neighbours to cherished family friends. It’s a chance to celebrate their stories, their wisdom, and the love that older people bring to our lives!
Here are some simple and heartwarming ideas to foster a sense of respect, empathy, and connection and build bridges between generations:
“Interview” a Grandparent: Help your child prepare a few simple questions to ask a grandparent or older friend over a video call or in person. Questions like, “What was your favourite game to play as a child?” or “Can you teach me a song you liked?” are wonderful starters.
Create a “Thank You” Masterpiece: Get out the crayons, stickers, and glitter! Encourage preschoolers to make a special card or a colourful painting to give to an older person they love. This act of giving is a powerful way to show appreciation.
Sing a Song Together: Teach your preschoolers a short song or rhyme about family or friendship that they can then “perform” for an older person. Choose a simple traditional song or nursery rhyme and sing it with grandparents. This creates a joyful intergenerational bond.
“Helping Hands” Chores: Talk about ways to help older people. Even simple tasks like tidying up toys or helping set the table can be a valuable lesson in respect and helpfulness.
Storytime Connection: Read books that celebrate grandparents and intergenerational relationships (if possible, arrange a virtual or in-person story time where a grandparent or older friend can read!). Some lovely titles include How to Babysit a Grandpa by Jean Reagan, Nana Upstairs & Nana Downstairs by Tomie dePaola.
Bake Something Sweet Together: Cooking or baking with an older person can be a cherished memory. Choose a simple recipe like cookies or cupcakes and let your preschoolers help with mixing and decorating.
I’ve created a song and a video for the day:
I’ve also created special colouring pages to celebrate the day! You can download them here
Summer is officially here, and what better way to kick off the sunny season than with a splash of musical magic and captivating underwater adventures? Let’s take a deep dive into this brilliant picture book which brings to life a beloved classic song:Ringo Starr’s “Octopus’s Garden”!
A Little Bit About this wonderful song
“Octopus’s Garden” is a charming song penned by none other than The Beatles’ drummer, Ringo Starr. Released on the iconic Abbey Road album in 1969, it’s a testament to Ringo’s sweet and heart-warming songwriting style.
Inspired by a trip to Sardinia on a boat and a conversation with the captain about octopuses collecting shiny objects and stones to make a garden to decorate their homes, the song paints a beautiful picture of a peaceful, idyllic retreat under the sea. With its gentle melody and simple, heartfelt lyrics, it’s a song that has resonated with generations, offering a comforting escape from the hustle and bustle of everyday life.
Cort’s vibrant and imaginative artwork perfectly captures the song’s whimsical spirit. His sea creatures and kids are friendly and inviting, his underwater scenes are bursting with colour and playful details, and each page is a visual delight that will spark the imagination of any child.
What’s more, the song’s simple lyrics, repetitive structure, and playful theme make it perfect for vocabulary building, listening comprehension, and creative language activities.
Activities to go along with the book
“Octopus’s Garden” and Ben Cort’s illustrations are the perfect springboard for summer engaging and creative activities for children. Here are a few ideas:
Vocabulary Building
Before listening, brainstorm sea-related words (Ocean Word Bank: octopus, garden, sea, waves, treasure, coral, fish, turtle, starfish). Find them HERE.
Underwater Storytime & Sing-Along: Gather the kids for a cosy read-aloud session of the “Octopus’s Garden” book. Encourage them to point out their favourite details in Ben Cort’s illustrations. After reading, have a sing-along to Ringo’s original song!
Show illustrations from Ben Cort’s book and label objects.
Play the song and have students raise their hands when they hear the words.
Have a look at the video I made of the book and song:
A teaser of the book by Waterstones here:
Get crafty!
Craft your own Octopus’s garden! Provide supplies like construction paper, pipe cleaners, googly eyes, glitter, and even real shells or pebbles. Challenge the children to create their own octopus characters and their ideal underwater gardens. They can draw, cut, glue, and decorate to their heart’s content.
You could even make a group mural. Invite kids to describe it (How many fish? How many octopuses? How many starfish?)
Octopus Handprint Art: Paint kids’ hands (minus thumbs) and press them onto paper to create octopus tentacles.
Sensory Bin Ocean Exploration: Fill a large bin with blue-tinted water or blue rice/pasta to simulate the ocean. Add toy sea creatures, plastic plants, small rocks, and shiny objects (like foil-wrapped coins or beads) for children to discover, just like an octopus collecting treasures. This is a wonderful tactile experience!
Make an octopus from a toilet paper roll. Find instructions here.
Get adventurous and playful
“Find the Shiny Treasure” Scavenger Hunt: Hide shiny objects around your house or garden. Give the children clues that relate to the song or Ben Cort’s illustrations. The “treasure” at the end could be a new book, some fun craft supplies, or even a treat!
Octopus Movement Game: Play “Octopus’s Garden” and have kids dance like ocean creatures—floating like jellyfish, scuttling like crabs, or swirling like waves.
OR
Use calming ocean music and lead a movement session where kids stretch like seaweed, sway like fish, and wiggle like octopuses. Encourage mindful breathing — a nice mix of fun and relaxation.
Grammar…anyone?
Prepositions of Place
Use Ben Cort’s illustrations to ask:
“Where is the octopus?” (Under the sea!)
“Where is the treasure?” (In the garden!)
“Where are the kids?” (On the turtles!)
Time for some colouring!
I created a colouring page in imitation of one of Ben Cort’s illustrations in the book. Press on the picture to get it!
So this summer, whether you’re by the sea, in the classroom, or just curled up under a tree, take a dive into Octopus’s Garden — and let Ringo’s underwater daydream make a splash in your heart.
After the success of my first Storytelling Chair (and ways to use it – you can find them all here), I decided to craft another one—this time inspired by the vibrant, playful illustrations from some of my students’ (and mine!) favourite books:
You can see the making of the chair here:
Book Inspirations:
“Dogman”(by Dav Pilkey) – A half-dog, half-cop hero fights crime with humor and heart.
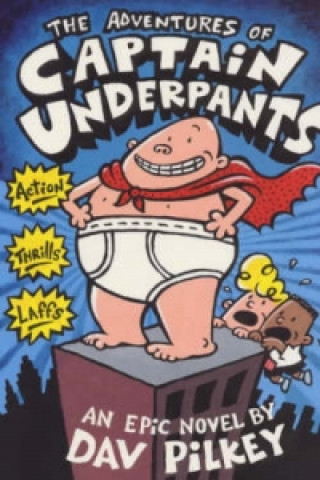
“Captain Underpants”(by Dav Pilkey) – Two prankster kids turn their grumpy principal into a superhero in tighty-whities.
“Level Up” (by Antonis Papatheodoulou) – inspired by the world of gaming and the level up mania in apps and games, this is a story of two game characters and what power really is!
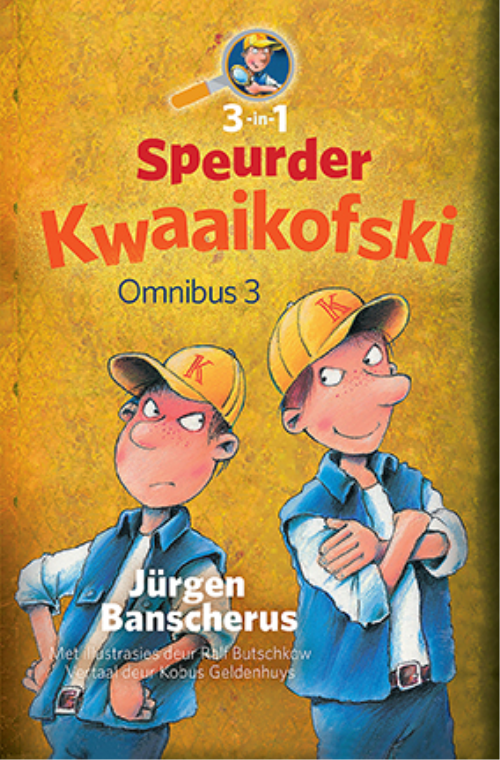
“Detective Clues” (‘Speurder Kwaaikofski’ in its German editions by Jürgen Banscherus) – Clues (Kwaaikofski) is a natural talent of a private detective! Give him a glass of milk, Carpenter’s gum and his special hat and he is ready for anything!
“Asterix in Britain” (by Goscinny & Uderzo) – Gauls Asterix and Obelix battle Romans with magic potion and British tea.
“Winnie the Witch” (by Valerie Thomas) – An adorable witch and her long-suffering cat Wilbur cause magical mayhem.
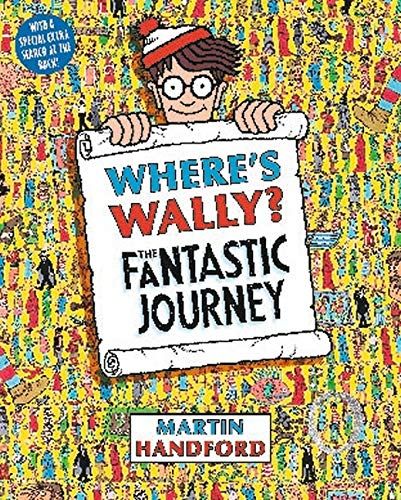
“Where’s Wally?” (by Martin Handford) – A global hide-and-seek adventure in crowded, detailed scenes.
“Trianglefish” (by Vaggelis Iliopoulos) – A ‘different’ fish saves his school by turning his difference—the very trait mocked by others—into their salvation
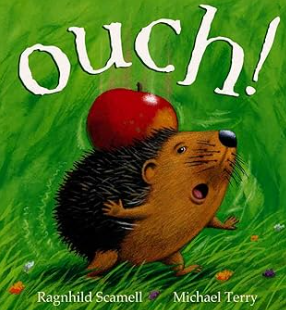
“Ouch!” (by Ragnhild Scamel) – A humorous and charming story about a hedgehog who tries to prepare for winter but keeps getting unexpected items stuck to her prickles instead of leaves.
“Pete the Cat: Rocking in My School Shoes” (by Eric Litwin) – A book that follows groovy Pete as he explores his school while singing and adapting to new experiences with a positive attitude.
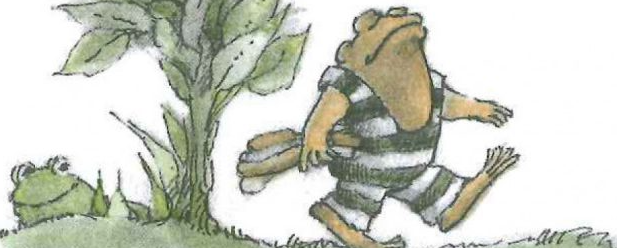
“Frog and Toad are Friends” is a beloved children’s book written and illustrated by Arnold Lobel, first published in 1970. It is the first in a series of four books featuring Frog and Toad, who are best friends. The book consists of five short stories, each highlighting the strong bond and adventures shared between the two characters. The stories are:
Spring – Frog helps Toad wake up from hibernation. / The Story – Toad struggles to come up with a story to tell Frog when he is sick. / A Lost Button – Frog and Toad search for Toad’s lost button. / A Swim – Frog and Toad go for a swim in the river. / The Letter – Frog sends Toad a letter to make him happy.
A classic read for children, celebrating the power of friendship between a Frog and a Toad, two opposing characters. Frog is like the sunshine and Toad needs that sunshine.
Arnold Stark Lobel (1933-1987) was an acclaimed American author and illustrator of children’s books. Born in Los Angeles, California, and raised in Schenectady, New York, Lobel showed an early interest in drawing and storytelling. He attended the Pratt Institute in Brooklyn, New York, where he studied art and began his career as an illustrator.
Lobel is best known for his “Frog and Toad” series, which includes: “Frog and Toad are Friends” (1970) / “Frog and Toad Together” (1972) / “Frog and Toad All Year” (1976) / “Days with Frog and Toad” (1979).
Lobel’s work is celebrated for its warmth, gentle humour, and timeless appeal. His stories often explore themes of friendship, kindness, and empathy. In addition to the “Frog and Toad” series, Lobel authored and illustrated numerous other books, including “Mouse Soup” and “Owl at Home.”
Lobel received several prestigious awards during his career, including a Caldecott Honor for “Frog and Toad are Friends” and the Caldecott Medal for “Fables” (1980). His contributions to children’s literature have left a lasting legacy, and his books continue to be cherished by readers of all ages.
I have selected the story ‘A Swim’ for my 4th and 5th graders. In it Frog and Toad decide to go for a swim in the river. Toad, feeling self-conscious about his bathing suit, is reluctant to be seen by others. Despite Frog’s encouragement, Toad insists on privacy and hides behind a rock to change. Eventually, Toad overcomes his embarrassment and joins Frog in the water. However, when Toad’s friends arrive, his shyness resurfaces, leading to a humorous and heart-warming conclusion as Toad faces his fears.
The story gently explores themes of friendship, self-consciousness, and courage. Lobel’s warm illustrations and simple, yet poignant text capture the essence of childhood insecurities and the supportive nature of true friendship, making “A Swim” a delightful and relatable read for children and adults alike.
You can find a read along of the story here, by the wonderful voice of Mr David Gibson*:
and some worksheets I have created to be used either before or after reading the story:
* David Gibson was born in Northern England in 1947 and began teaching in 1964. His five diplomas were awarded by the universities of Nottingham, Bristol, and Cambridge and he taught in England in junior and secondary schools for 15 years. He came to Greece in 1979 and taught English as a Foreign Language in private schools before joining the British Council in Thessaloniki in 1987. There, he taught English Language and Literature, was a Teacher-Trainer, and served as the Coordinator of Student Social and Cultural Activities.
In 1995, he took up a post as teacher of English Language and Literature at Pinewood International Schools, Thessaloniki, becoming the Chairman of the English Department in 1999. At Pinewood, he also coached three football teams, ran Guitar Clubs and School Bands, and was involved in a wide variety of other school activities and events.
David has worked for Cambridge ESOL for more than twenty years, as an Oral Examiner, Team Leader, Supervisor, Seminar Presenter, and Inspector, and is a founder and three-time board member of TESOL Macedonia-Thrace, Northern Greece, being a regular speaker and active participant in conventions and similar events.
In June 2008, he retired from full-time teaching in order to concentrate on other projects, but has continued to work with Pinewood students – coaching football, playing guitar with them, encouraging them to read and to write … and to watch birds.
You can see some of his inspiring work as the one half of the two-man English Teaching Theatre Group “Dave’n’Luke” here:
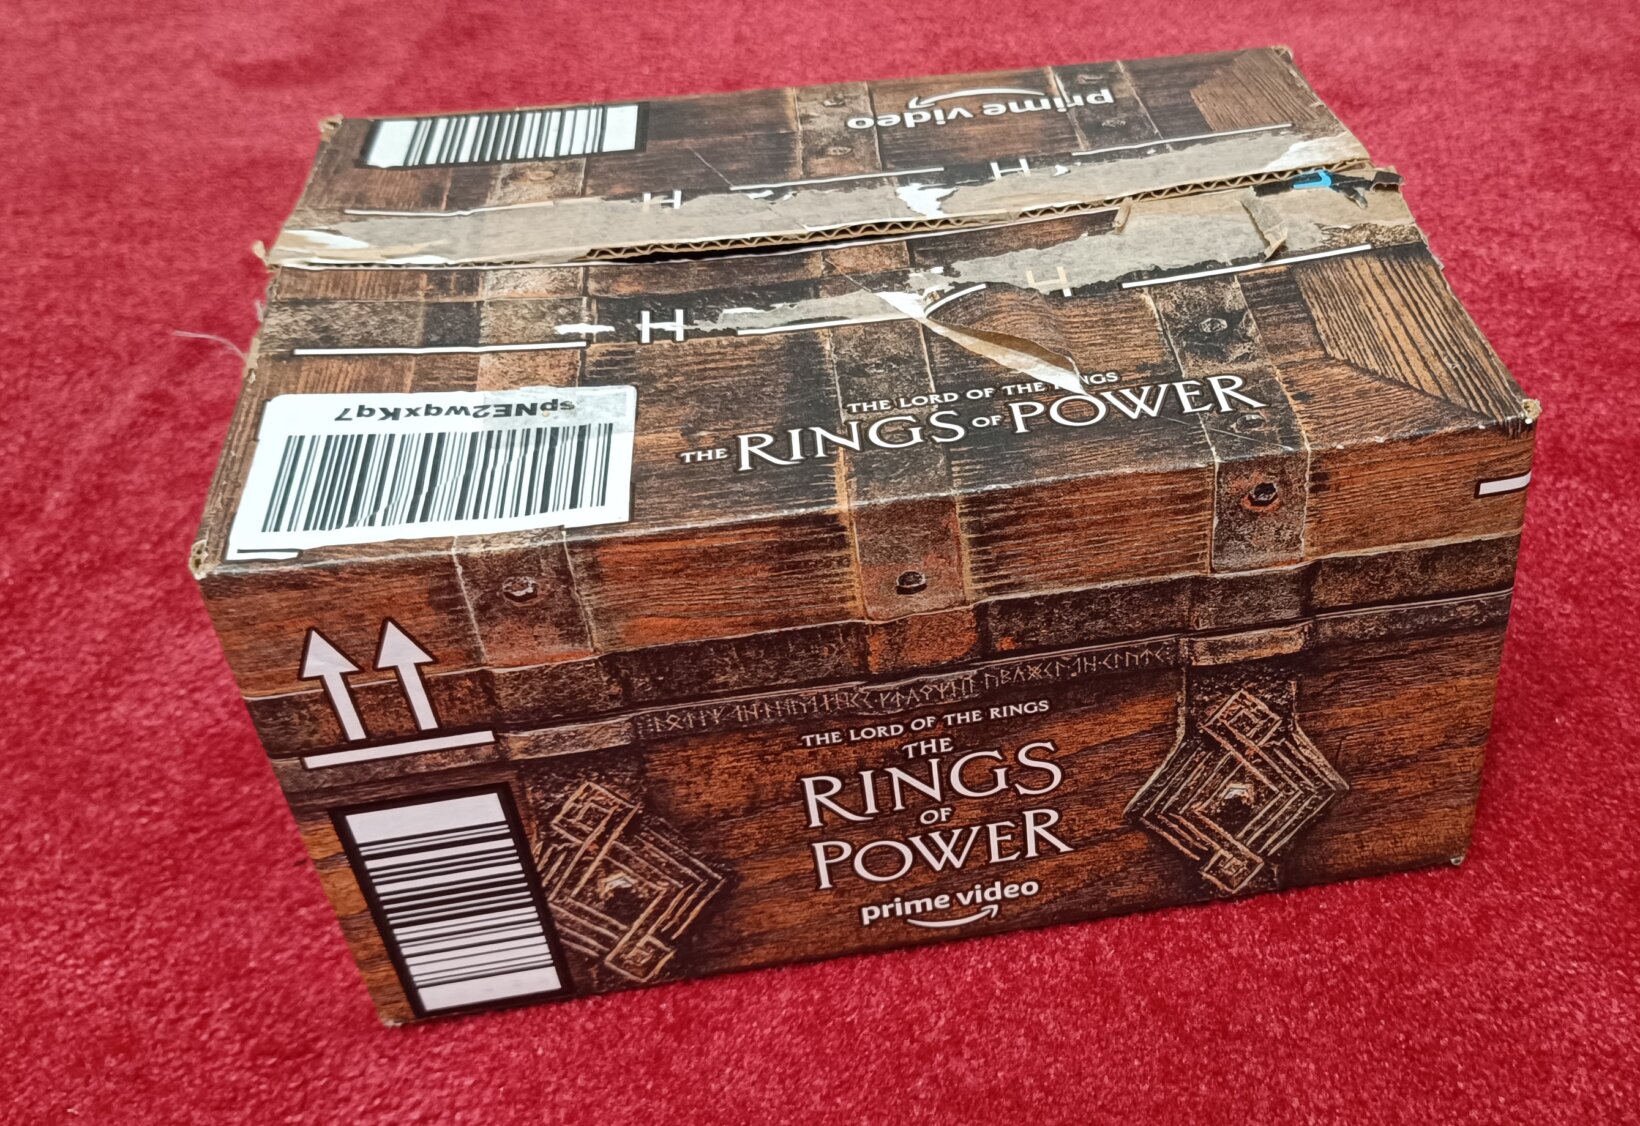
In the world of education, creativity knows no bounds. A simple shoe box, often discarded after serving its primary purpose, can be reborn into a treasure trove of learning opportunities. The allure of adventure and the thrill of discovery captivates the imagination of young learners.
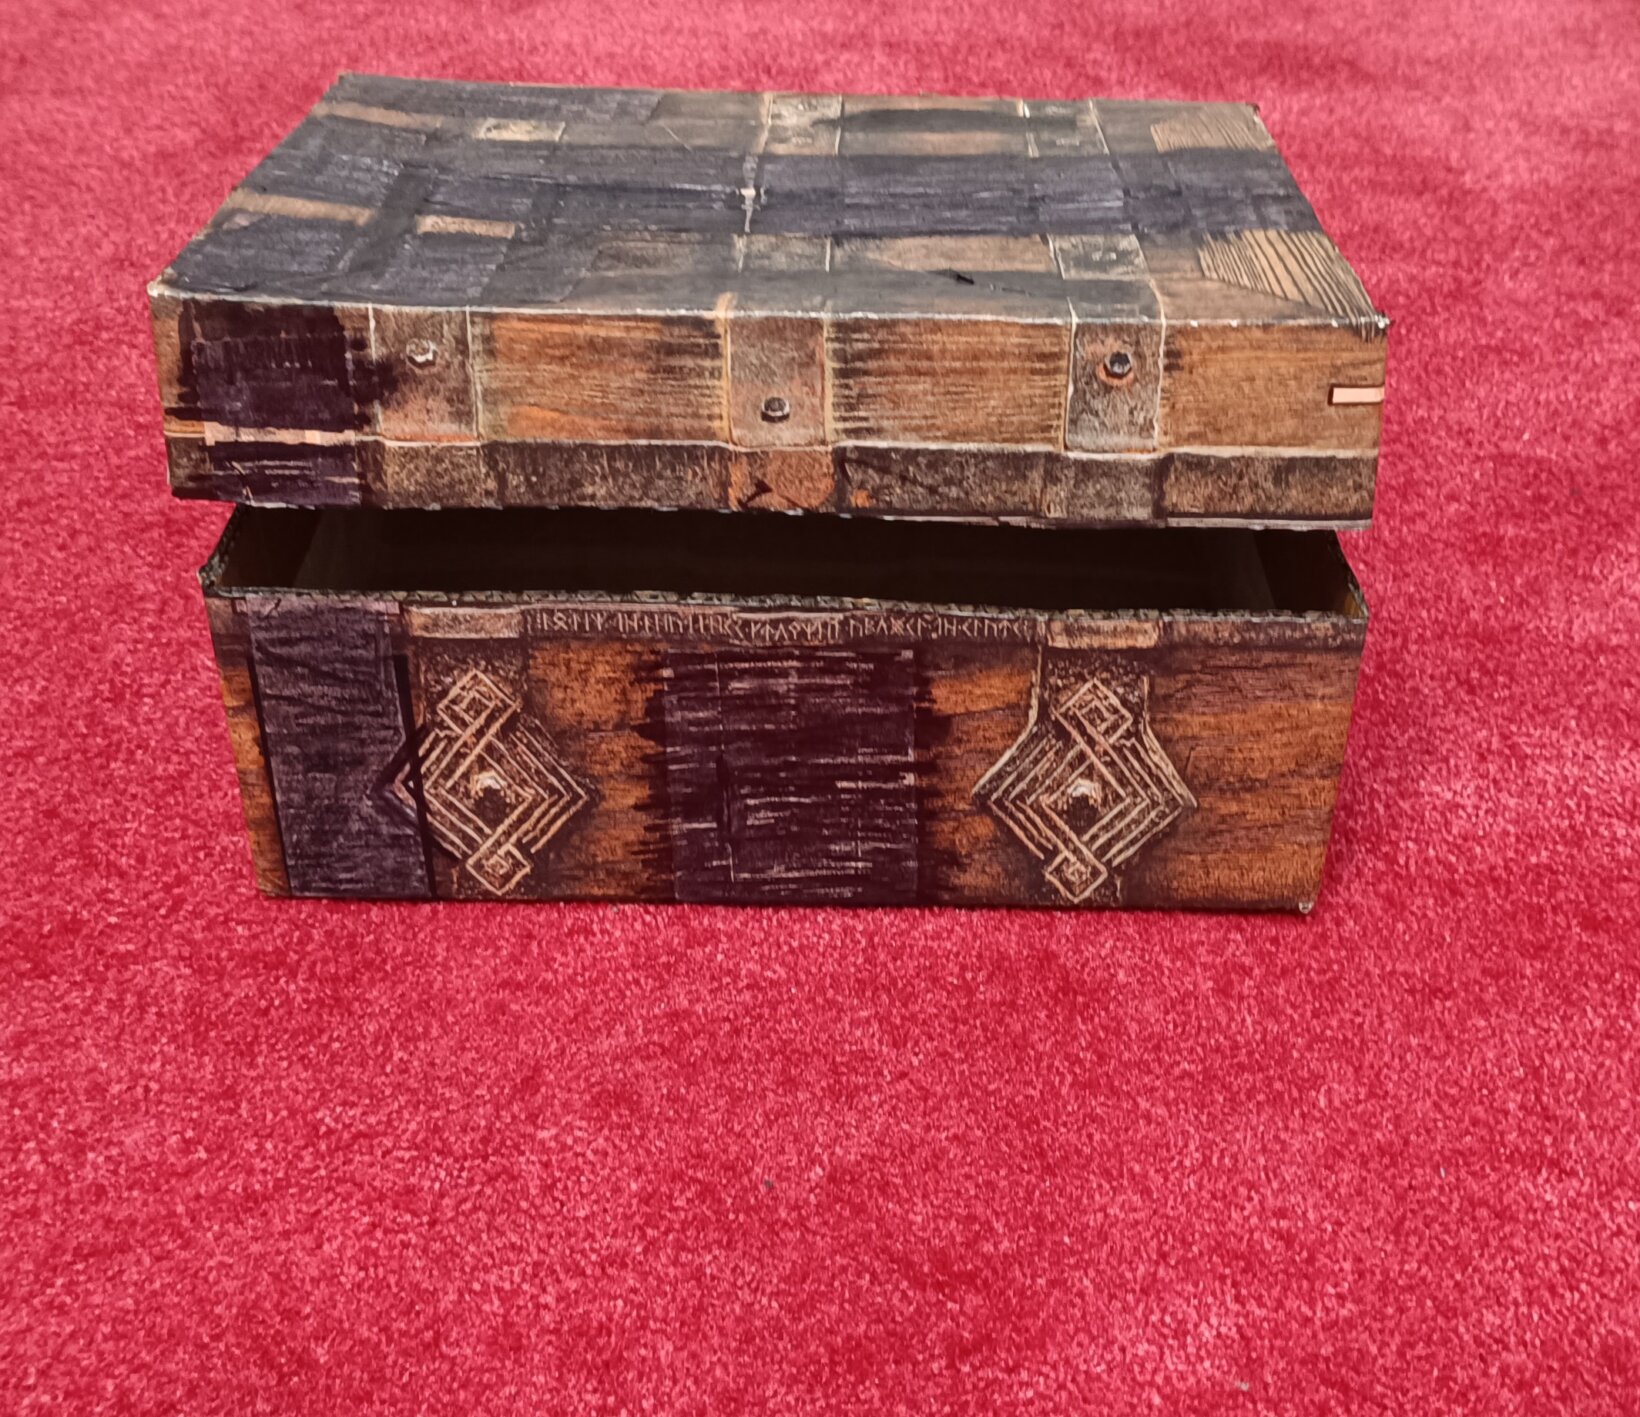
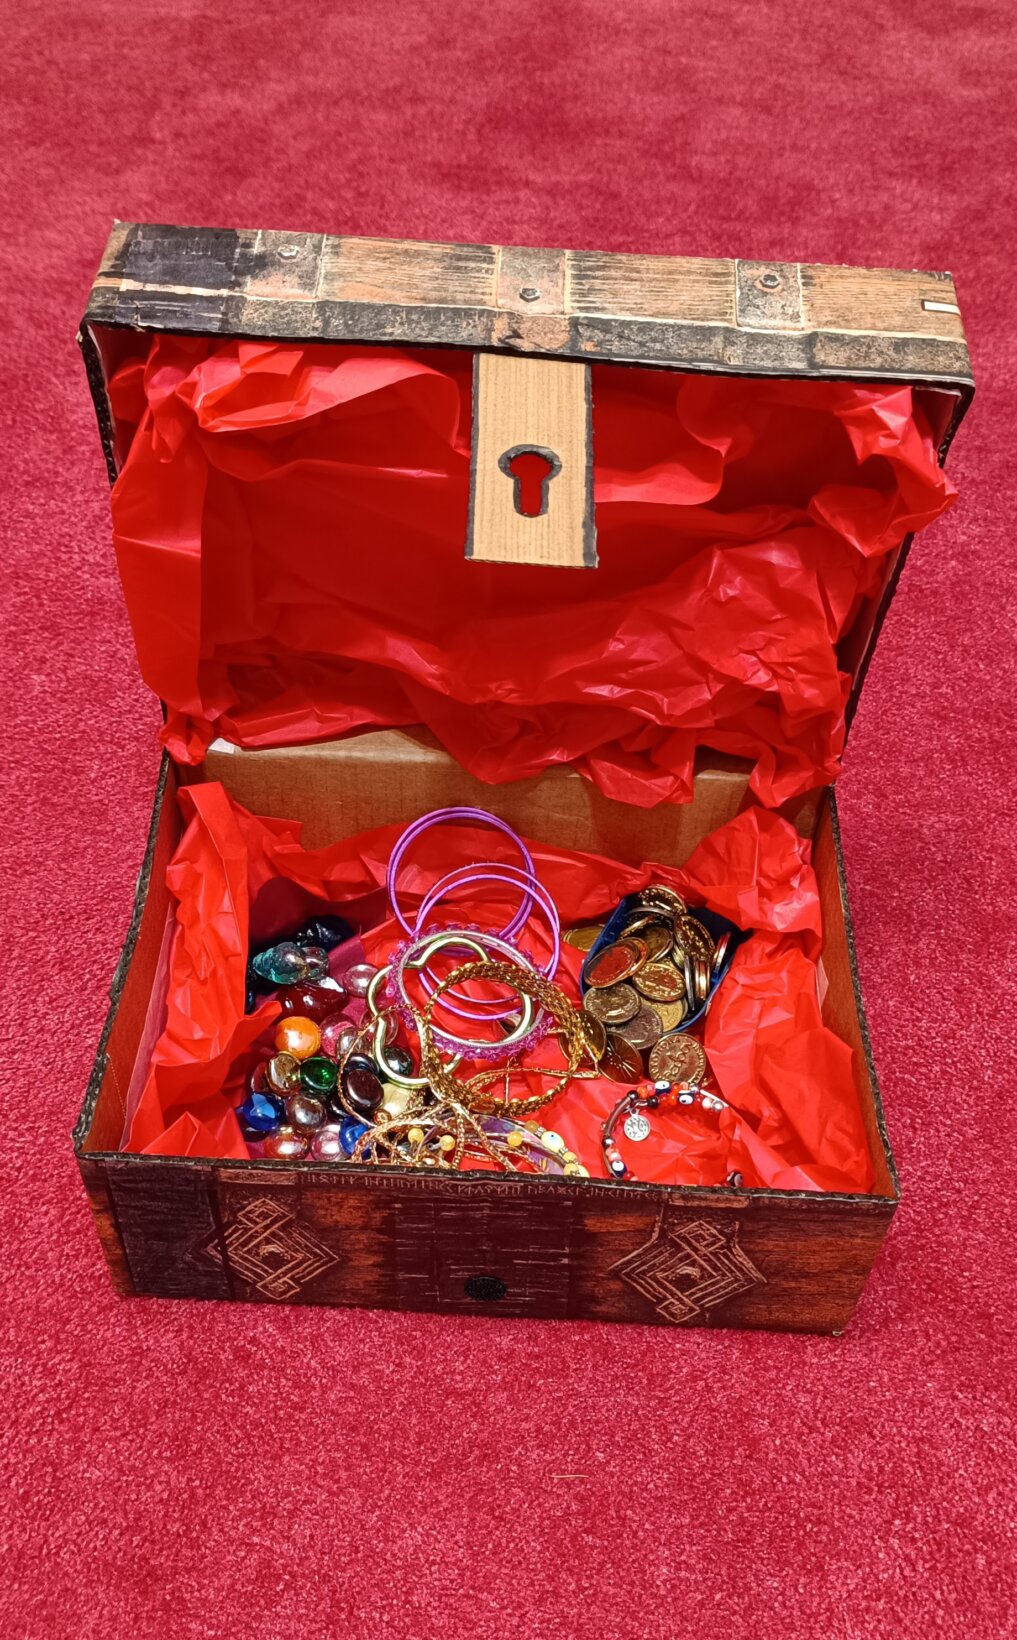
When I found this handsome box discarded I saw its many potentials! So I secured it with paper tape, reinforced it on the inside (with parts of another pizza box!), cut it in the middle, covered the parts which had letters on them, tried to imitate the style of the rest of the box with various matching paints, crafted a lock, and finally, lined the interior with red wafer paper. When my treasure chest was ready, it was time to put my treasure inside! Children’s jewellery, plastic or glass gems, lucky plastic coins gathered from vasilopita pies (vasilopita is a traditional Greek New Year’s Day bread, cake, or pie that contains a hidden coin) and any other trinket I could think of!
I will use my treasure chest with my 3rd graders, since there is much scope in their 1st and 2nd Units for a re-enactment of the lessons where the treasure chest is discovered by Kelly and then used by the pirates in Captain Cook’s crew!
Here is a map in imitation of the map in Lesson 1 of Unit 1: Treasure Hunt Map
and the bamboo leaves with the panda on them (like a puzzle) in Lesson 2: Bamboo leaves
For a pirate hat have a look at my ‘Ahoy mates!’ blog post here.
Have students make their own pirate treasure chest: this activity will not only add sparkle to the lesson but also encourage students’ fine motor skills and imagination as each one of them will create their own. Have students recycle (or rather, upcycle!) materials such as boxes, cardboard scraps, ribbons, strings, or any other embellishments in order to make a treasure chest for their “treasures.”
Transforming a shoe box into a pirate treasure chest not only engages students in a fun and hands-on activity but also opens the door to a wealth of educational possibilities:
Literacy and Phonics:
Hide letters or words within the chest, prompting students to identify and spell them correctly.
Creative Writing:
Encourage students to develop pirate-themed stories centred around the treasure chest. This activity fosters creative writing skills, expands vocabulary, and allows for imaginative expression.
Mathematics:
Introduce counting and sorting using the toy coins or jewels. Create math problems based on the number of treasures hidden in the chest.
History and Geography:
Explore pirate history and geographical locations of famous pirate adventures. Incorporate maps and discuss the concept of buried treasures to tie the project to real-world historical contexts.
Teamwork and Collaboration:
Assign group projects where students work together to create a collective treasure chest. This fosters teamwork, communication, and collaboration skills.
Reward System:
Fill the treasure chest with small prizes, such as stickers, candy, or small toys, to reward students for exceptional work or good behaviour.
Unlock a treasure trove of educational opportunities through this tangible artifact!!!
Storytelling for kindergarten (and, of course, primary school) children is highly beneficial. Not only does it inspire imagination, but it’s also highly engaging. It captivates young learners’ attention, acts as a language booster, and ignites a love for literature.
Using puppets, props (even the simplest ones can have a tremendous effect on the little ones! – try pressing all your fingers to the front, using your hand as a beak and then engage in a dialogue with it), body language and animated voice can encourage imagination and creativity and foster social interaction: children empathize with characters and engage in discussions, developing, thus, their critical thinking, a much sought-after skill not only for their personal growth but also for their academic success. Sometimes nothing else is needed when telling a story other than imagination: creating mental pictures and getting the children physically engaged through movement can do the trick (‘imagine being the wind that blows the leaves off the tree, or being the leaf thrown out of the tree by the wind!’, ‘imagine climbing up the beanstalk, careful not to slip and fall, looking down as we climb’).
Finding the age-appropriate book for our students is of paramount importance. Books that contain simple language (or you can simplify it yourself as you read), and repetitive patterns are very helpful: fun aside, repetition can boost students’ confidence, consolidation of new vocabulary and sentence structures.
And how should you narrate (or read) a story? Standing or – better – sitting in the middle of a designated storytelling area is a good idea. A storytelling chair can serve as a focal point for teacher-student interaction during storytelling sessions, fostering a positive learning atmosphere. It can enhance engagement, create a sense of anticipation, and provide a comfortable and focused environment for children, making the storytelling experience more memorable and enjoyable.
I’ve had my eye (and set my heart!) on getting one – but then I thought: why not MAKE one? So I bought a plastic chair with ample writing space and got a pencil, a rubber and some permanent markers, and some days later … my storytelling chair was ready!!!
You can see the story of my chair unfold here:
Ways to use a strorytelling chair
Tell stories and repeat them often. Children feel more confident listening to stories when they know them inside out and know exactly what comes next.
When children become very familiar with certain stories invite them to sit on the storytelling chair and recount (or repeat) a part of the story. Anyone who sits in it becomes the storyteller with powers to entrance their listeners!
Have students identify another character on the chair. What would happen if the hero of the story met another hero (and became good friends with them?) – time for some critical thinking and communication development then!
Most importantly, have fun and enjoy the process yourself: approach storytelling with enthusiasm and joy. Your genuine passion for the story will be contagious, and the child will sense your enjoyment and engagement.
Routines in the classrooms are very important for children’s development. They help children to feel safe, comfortable and confident in the school environment but also to be organised and be independent. Research shows that children with regular routines have self-regulation skills, the building blocks of good mental health.
Routines should be clear and consistent. Creating and maintaining routines can also help us, teachers, manage the classroom.
3 things are essential for the ‘recipe’ to succeed!
To integrate the routines into the daily schedule
To stick to the routines,
and, most importantly,
To make routines enjoyable, in the form of e.g. games
I tried to encapsulate my experience with classroom routines and management in the following videos. These ideas helped me not only to ‘survive’ in the kindergarten, but also to make my life and the adorable cuties’ life easier and more pleasant. These ideas also work well with 1st, 2nd and – why not? – 3rd graders.
You will find instructions on routines and classroom management (and other useful ones, I hope!) in the Tips section (Tip No5, Parts 1-7 is for classroom management).
Nick Sharratt is a children’s author and artist who has written and illustrated close to 300 books; his illustrations are known all over the world. (His work is split between producing his own picture books – around 40 – and illustrating for numerous highly regarded authors including favourites by Julia Donaldson and Jeremy Strong as well as the much-loved Tracy Beaker series by Jacqueline Wilson).
Find more about the author and his book here: Nick Sharratt
Shark in the park is a story about a boy named (Timothy Pope) who is testing out his new toy telescope in the park. He looks up, he looks down, he looks right and then left with his telescope and then he thinks he sees a shark fin ….could it be a shark? Or … ?
This is an enjoyable and suspenseful story with a lot of repetition and rhyme. It is constructed so that pages have a circular opening that mimics what the boy would see in the telescope. Then, when the page is turned, the reality is revealed! (In the hands of a gifted presenter who would pause at the proper time and have the children guessing, this book will keep children riveted!)
This book can also help young children learn directions (such as right and left). There is a lot of of rhyme and repetition, as mentioned earlier, which provides pace for reading aloud, opportunities for children to apply their phonics skills as well as the possibility of children joining in.
Χρησιμοποιούμε cookies για να σας προσφέρουμε την καλύτερη δυνατή εμπειρία στη σελίδα μας. Εάν συνεχίσετε να χρησιμοποιείτε τη σελίδα, θα υποθέσουμε πως είστε ικανοποιημένοι με αυτό.