
Every year, on 14 of February, people all over the world celebrate St. Valentine’s Day: they show their affection or love for their beloved ones or sweethearts by giving gifts, chocolates, flowers, or cards with messages of love.
The day gets its name from a famous saint. But who was he?
There are several stories of who he was. The popular belief about St Valentine is that he was a priest from Rome in the third century AD. Emperor Claudius II had banned marriage because he thought married men were bad soldiers. Valentine felt this was unfair, so he broke the rules and arranged marriages in secret. When Claudius found out, Valentine was thrown in jail and sentenced to death. There, he fell in love with the jailer’s daughter and when he was taken to be killed on 14 February he sent her a love letter signed “from your Valentine”. (“From your Valentine,” an expression that is still in use today.)
Have a look at this video: Valentine’s Day.
Follow the story of Valentine’s Day on Google Earth !
The tradition of celebrating love, though, already existed. The Romans had a festival called Lupercalia in the middle of February – officially the start of their springtime. Lupercalia was a fertility festival dedicated to Faunus, the Roman god of agriculture, as well as to the Roman founders Romulus and Remus. As part of the celebrations, boys drew names of girls from a box. They’d be boyfriend and girlfriend during the festival and sometimes they’d get married.
Later on, the church wanted to turn this festival into a Christian celebration and decided to use it to remember St Valentine too. Over the years, St Valentine’s name started to be used by people to express their feelings to those they loved. Nowadays it is a fully commercialised celebration, with all things lovey!
How do animals celebrate the day? Have a look! Animals in love
What about special Valentine’s food?
Have a look at this Valentine’s Day story with Nature Cat (with an environmental twist!)
Here’s a host of acivities you can find here: Holiday: Valentine’s Day
Other love figures / saints
In Ancient Greece people celebrated the god of love, Eros, son of Aphrodite and Ares. He had a special power which allowed him to make two people fall in love with each other: Eros could point his bow and arrow at someone and they would fall in love with the next person they saw. This power worked with both mortals (another name for humans, who could die) and gods!
-

- Eros on an ancient bobbin, now at Louvre

-

- Eros by Joseph Paelinck

There are a lot of myths about him. The most famous one is Eros and Psyche.

Cupid and Psyche by Antonio Canova
Their story inspired so many artists! Have a look at this famous statue above.
Later on, in Roman mythology Eros became the Roman god Cupid, who is often shown as a naked chubby child throwing his arrows to unsuspecting lovers!
-

- Venus and Amor by Hans Holbein the Younger

-

- Venus and Cupid by Tiziano

-

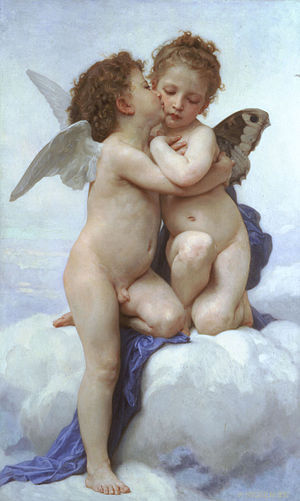
- L’Amour et Psyché, enfants by Bouguereau
The Orthodox church celebrates the saints Priscilla and Aquila on 13 February.
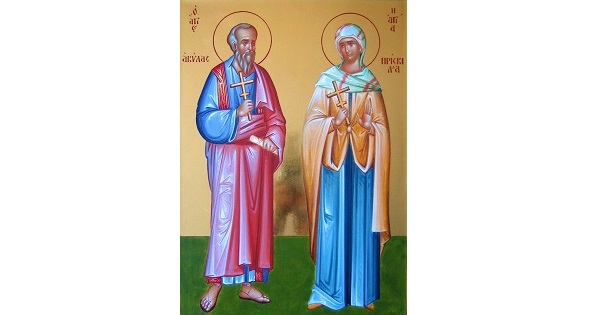
Sts. Aquila and Priscilla
Priscilla and Aquila were friends of the apostle Paul. They set an example of hospitality, seen in opening their home to Paul and using their house as a meeting place for the church. Priscilla and Aquila are a fascinating study in men and women working together for the good of the church.