IMG_20210307_002750

The Very Hungry Caterpillar

Eric Carle’s work is loved and admired throughout the world. It’s not only his ingeniously crafted children’s stories but his iconic collages and artistry that have fascinated children and adults alike.

For more than 50 years (since it was initially published in 1969) The Very Hungry Caterpillar has ‘nibbled’ its way into everyone’s hearts and has become one of the top selling children’s books of all time, translated into 66 languages worldwide. The story of the helpless, small, insignificant caterpillar which turns into a beautiful butterfly sends out a message of hope.


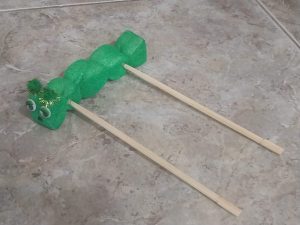
I tried to bring the story to life with simple materials:

For the caterpillar:

spongy foam cupoid (I found in the packaging of something!)

bamboo chopsticks (from Chinese takeaway food!)

roll of green sewing thread

little green pom pom balls

googly eyes for crafts

acrylic paint

hot glue gun


For the food:

kids plastic toy food (whatever I kept from my girls!)

self drying modelling clay (for the food items I couldn’t find…) OR playdough/plasticine

For the background:

coloured cardboard paper (blue for the night, brown for the tree, green for the leaves, white for the sun, various colours for the butterfly- I used a plush caterpillar)

watercolours

scissors (the background is something of a collage)

A little bit of imagination and … bish bash bosh! bada bing bada boom! Voila! Your Hungry Caterpillar storytelling set  is ready!

Mind you, my little silly rendition of the story took a lot of time and effort after all! The plan is to have the students create and then act out the story! I’m sure they’ll love it!

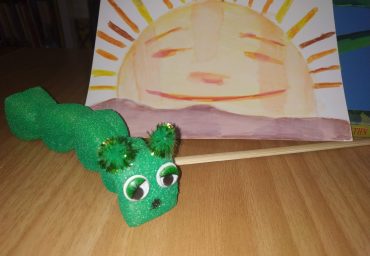
Here is the end product!


And this is the day I used my Hungry Caterpillar box in class:
hungry caterpillar

Lorax_EarthDay_Logo

Seuss inspired craft: Meet the Lorax!

One of my favourite Dr. Seuss’s characters for his environmental sensitivity is definitely the Lorax! Dr. Seuss’s beloved story teaches children to treat the planet with kindness and stand up and speak up for others.

The book is the perfect gift for Earth Day and for any child—or child at heart—who is interested in the environment, recycling, preservation of nature. It was Dr. Seuss’s personal favourite of his books. In his own words: ‘The Lorax came out of me being angry. In The Lorax I was out to attack what I think are evil things and let the chips fall where they might.’
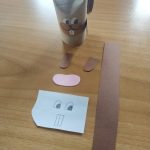
(You can get a lot of ideas for ‘The Lorax Project’ here: We speak for the Earth-The Lorax Project )
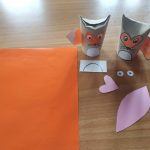
The 2012 feature film is also ideal for classroom use in combination with any environmental project: it teaches children the importance of protecting their environment and that nature is not something disposable and pointless. It warns against the dangers of being too greedy and of not thinking about others. (You can get some ideas for after viewing conversations here: Teach with movies-The Lorax )

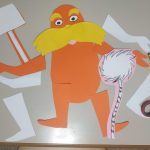
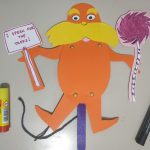
I have made a Lorax puppet to be used along with the book and/or film. It was crafted in the same way as this wonderful panda: How to make a panda pin puppet

 Here he is:

The Lorax puppet in action!

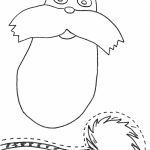
Here are the templates:

5 Little Froggies

An easy and fun craft – activity for 1st graders based on the song ‘5 Little Froggies’!

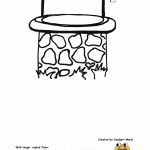
After we teach the song (described in http://rcel.enl.uoa.gr/peap/taksi/kyklos-b/numbers-1-5#material ) and encourage children to make the accompanying moves with us, we hand out the first photocopy, folded in two, and sellotaped at the edges. If we want to help 1st graders we can cut the shape of the well hole before we give it to them, as it will be rather challenging for those little hands to handle their scissors around the hole.

Now, it’s time to perform the song seated!

We sing the song and when we come to  ‘…and down he fell’, one froggie goes into the well! You’ve guessed right! All froggies end up in the well! Which is a good thing, as we know they won’t be lost, safe in the paper well pouch!

Children love it and they get to keep the well and froggies to use and play throughout the year!

Here are the templates:

EFFECTS (2)

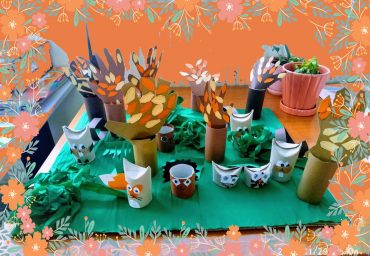
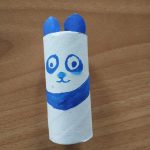
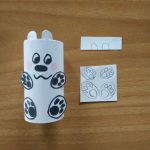
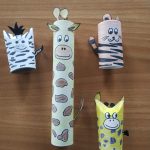
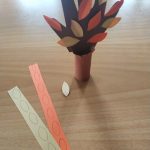
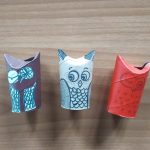
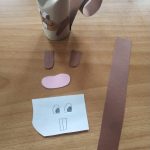
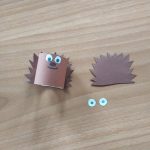
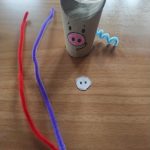
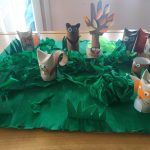
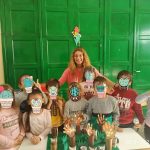
Make your own Zoo with paper rolls from the loo!!!

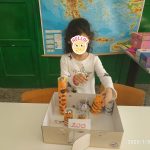
A nice way to keep your 1st graders happy and engaged when you have taught them the wild animals ( tiger, giraffe, panda, lion, zebra, etc)!

Supplies needed:

Paper rolls (regular or bigger)

A4 paper or cardboard paper

Crayons or coloured pencils

Scissors

A wide box

Pipe cleaners

Stapler

Glue

Your fantasy!!!

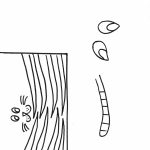
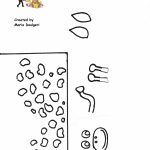
I have created some templates which we use in the beginning. But then, once the kids get the hang of it, they can use their own ideas and create their own versions of the animals! They can really get very imaginative and creative!!!

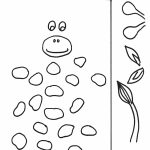
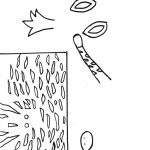
Here are some templates:

OR, you can create a whole forest!

Extra supplies for the forest:

A big sheet of thick cardboard paper

Green crêpe paper

Cardboard paper in various colours

Don’t forget the basic ingredient: your fantasy!!!

herring1

Valentine crafts

Here are two ideas to do for your sweetheart on St. Valentine’s Day!

No.1

Make a great origami heart corner bookmark, scribbling a special little love note on it!

Watch the instructions here: Heart corner bookmarks

or follow the advice given here: Heart Corner Bookmarks 

And how about placing it in the corner of a book with love poetry for your beloved one?


No.2

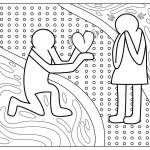
Paint the following pictures (or make your own!) using Keith Haring’s unique style!

Who was Keith Haring? 

Keith Haring was a well-known street artist and pop artist in the 1980s and 1990s. Inspired by art and graffiti in New York City subways, artist Keith Haring created iconic cartoon-like figures in public spaces all over the world.His drawings were quite simple – pyramids, flying saucers, human figures, winged figures, television sets, animals, and babies. Soon his drawings became a kind of signature, and the people of New York first (where he lived) and then all around the world recognised his style immediately.

Learn more about his life here: Let’s learn about Keith Haring! and here: Intro to Keith Haring!

Here are the 2 colouring pages:


The Famous Portaits Museum (feat. The Mona Lisa and others to follow)

I created a speaking image of the painting The Mona Lisa (#monalisa) with #chatterpix

My plan is to have more talking portraits (of both men and women) in a virtual museum made by students (probably 6th graders) this time!

The tool I used to make the museum is emaze.

What is emaze?

emaze is an online, web-based presentation creator that can be used to easily build and edit visually compelling and engaging presentations on any personal computer. emaze presentations don’t look like the typical PowerPoint presentations you see every day. If you’re familiar with Prezi,some emaze presentations might seem similar (they can involve movement) but you can always create traditional presentations that are more akin to a PowerPoint. The plus feature in emaze is the ability to easily embed media of any kind, including HTML widgets. The ability to embed media of any kind is also an enormous benefit and allows students to integrate projects they’ve created on a wide variety of apps and sites.   

Once you’ve finished creating your presentation, you can download it in a variety of formats (in the Pro version), or share it out with a link, embed code, or through social media.

When you start using emaze you’ll be able to choose from one of their many predesigned templates.  Or if you’d rather start from PowerPoint, you can quickly import your pre-made PowerPoint presentation and convert it into any emaze template that you’d like.

Take a look at a short tutorial from the emaze team so you can see what the platform looks like in action:

https://www.youtube.com/watch?v=9DMcpXms_HU&feature=emb_logo

(adapted from http://www.edtechroundup.org/reviews/emaze-create-share-and-explore-online-presentations)

Here is my Famous Portraits Museum emaze:

https://www.emaze.com/@AOTOLWQLQ/famous-portraits

louvre

Art time: Mona Lisa

La Gioconda, which is also called the Mona Lisa, is the most famous painting in the world. Each year, millions of visitors throng to see the painting in one of the Louvre Museum’s largest exhibition rooms. Her name and image have been reproduced on every continent on coffee cups and T-shirts, in adverts and films, on the Internet, and on the facades of restaurants and beauty salons. Wherever we are and whatever we are doing-whether we are on a street corner, opening a magazine, or turning on the television-, La Gioconda’s smile is omnipresent.

From the book What’s so special about Mona Lisa? By Delieuvin V. & Tallec O.

What would Mina Lisa tell us herself about her exciting life if we could just hear her famous painting in the Louvre Museum?

Well, come closer… listen…

(The script was written by Doulgeri Mary, and the image became a talking image with the help of Chatterpix!

What is ChatterPix?

ChatterPix is an app that converts pictures of inanimate objects into pictures that talk! All you do is snap a picture, draw a line to make it talk, and record your voice! ChatterPix can be used to make silly greetings, playful messages, and creative cards. In the classroom, ChatterPix can be used as a way for students to take pictures of their work and record information about it! A student’s ChatterPix can be emailed, sent to YouTube, or saved on a device. Teachers can have students save their ChatterPix creations in the camera roll on an iPad to review later.

Here is a guide of how to use it:

http://chatterpixworkshop.weebly.com/uploads/5/1/5/8/51581143/chatterpix_howto.pdf

If you want to have a look at or use the script of Mona Lisa, here it is:

Mona Lisa


Ahoy mates!

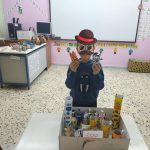
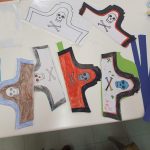
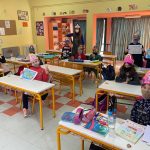
Every year when we finish Unit 2 (Captain Cook) from Magic Book 2 we always make this Pirate hat, wear it and sing the song (I’m a pirate and my name is Cook…) holding our treasure maps and enjoying ourselves! This year with the mask it was a bit weird! But we pretended it was a mouth patch!!!

Aaaarrrrgggghhhh!

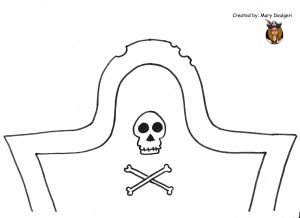
It’s very easy to make the hat: just photocopy the template (I made it very easily), glue it to cardboard paper, and fasten a headstrap (made out of cardboard, too) adjusting it to the… pirate’s head. (It’s actually a headband, not a hat!)

You can download the template here:

We built this city!!!

What with all the technology and the digital tools we use I’ve come to appreciate the simple, crafty activities we do in the classroom…

Here’s a craft that we can start in D and could evolve into a communicative activity in E and St classes!

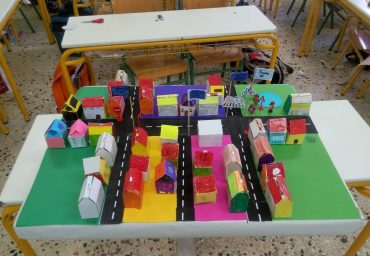
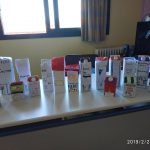
We can start it in D class, when we have taught the places / buildings in a village/town/city (Unit 3, Lesson 2, My city). The students bring an empty carton of milk (or an empty packet of biscuits) and glue a piece of paper on it (A4). On the piece of paper they can each draw the building/shop they like.

For our project we used this template so that the buildings/shops would be of a specific size and look homogenous on our town. https://drive.google.com/file/d/1_D7RFW1fAt_pHGnvrM3z9C1gnRvio49a/view?usp=sharing

We can either use a big cardboard sheet on a desk or a big piece of a Styrofoam sheet. Then we put everything the students created and we ‘design’ our city: where the streets, the buildings, the parks (and anything else the students’ imagination would deem necessary!) would go/ any trees, inhabitants, etc they would bring and add in their city.

We can then use our ‘city’ in E class (Unit 3, Lesson 2 ‘How can I get to …?’) and St class (Unit 5, Lesson 2 ‘Transportation’) for actual 3D practice: in pairs the students have to ask for and give directions to a specific place in the city. After students have studied the expressions for asking for and giving information 

(here’s a useful handout: Asking-for-giving-directions.pdf)

a dialogue like this can ensue:

-By car or on foot? (One of the students holds a car and a figurine of a person. The other student has to choose the transportation means)

-Goodmorning. Could you show me the way to… (pointing to a shop/building)?

-Go down (… street – the students have given names to the streets) and take the (second) turning on the (right) into ….Street.

-(The other student follows the directions)

-The (…) is opposite/between/… You can’t miss it!

-Thank you very much!

-You’re welcome!


The gains from this activity are manifold: apart from being fun and interactive, students get an actual sense of direction, not to be acquired by any activity on a piece of paper (usually a map).  

Have a look: 

IMG_20201121_113902

‘A party in the jungle’ puppet theatre No. 2

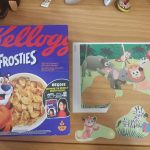
This is my version of the ‘A party in the jungle’ using an empty cereal box.

I made my own small puppet theatre based on the idea of the Halloween one by Kids English Theatre (https://www.youtube.com/watch?v=6ZPQMy6cZBQ)

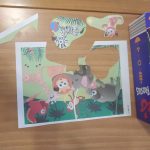
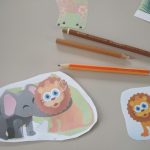
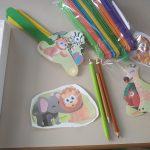
Here’s what I did: I took a box of cereals. I used a green background to convey the idea that it’s a jungle. I cut the figures carefully from the PEAP material (http://rcel.enl.uoa.gr/peap/taksi/kyklos-b/party-jungle?fbclid=IwAR06F3sPtRRn93ZTuoVWyVb47l32MiqLH-QgLUqZNufn2uPlQ7f-UOde04Y#material).

I stuck the image of the elephant and Leo on another piece of paper and added the missing parts as best as I could. I used the PEAP flashcards for Leo (http://rcel.enl.uoa.gr/peap/taksi/kyklos-b/fun-animals?fbclid=IwAR0-n-EXV0RA_J1icO7RtUlMNDSOX3ht0qv_UH8bUrodoExy3aPR1nquew0#material)

Don’t throw away the remaining bits of paper! You can use them in your green background.

Special thanks to my younger daughter, Kate, who was my very patient helper!

Well, hope you find it useful… https://www.youtube.com/watch?v=bydhWjRH9io&fbclid=IwAR143qf9AgWBPbWoc1un1Qe0n0VfyqO4e56vNdnBruNQyjuc_mp_lq4qigg