Storytelling chair No2
After the success of my first Storytelling Chair (and ways to use it – you can find them all here), I decided to craft another one—this time inspired by the vibrant, playful illustrations from some of my students’ (and mine!) favourite books:
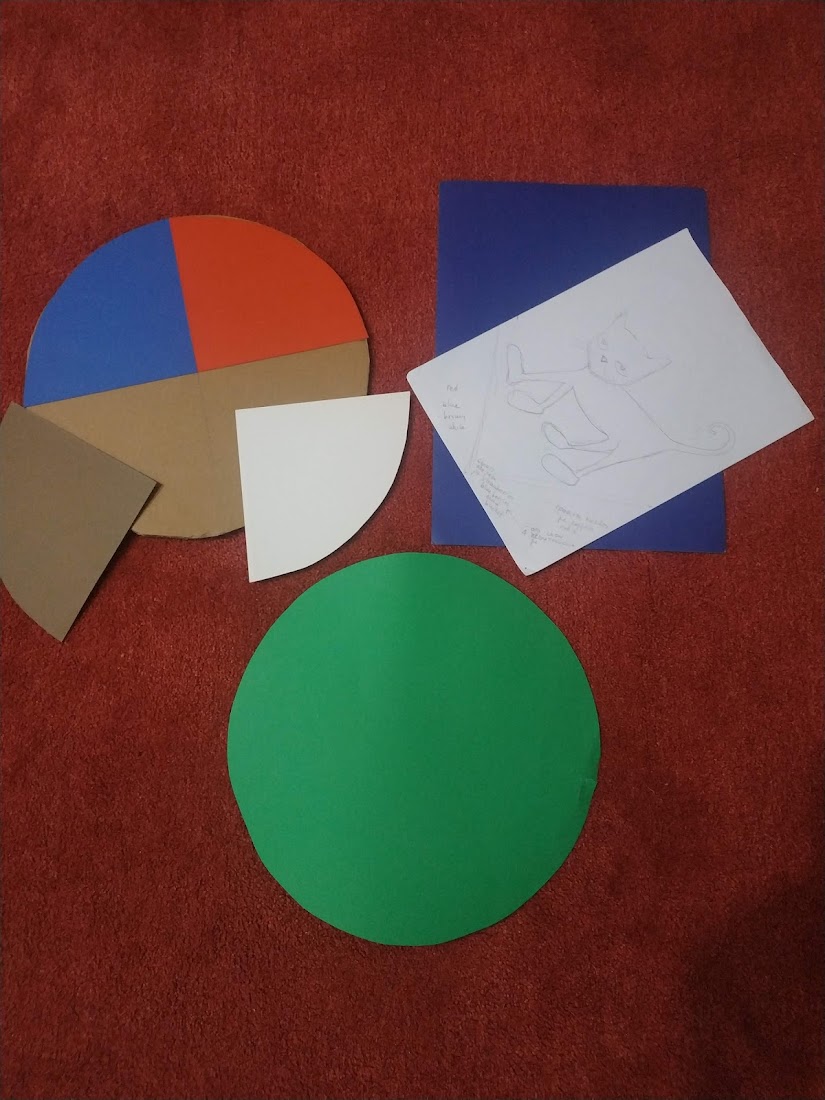
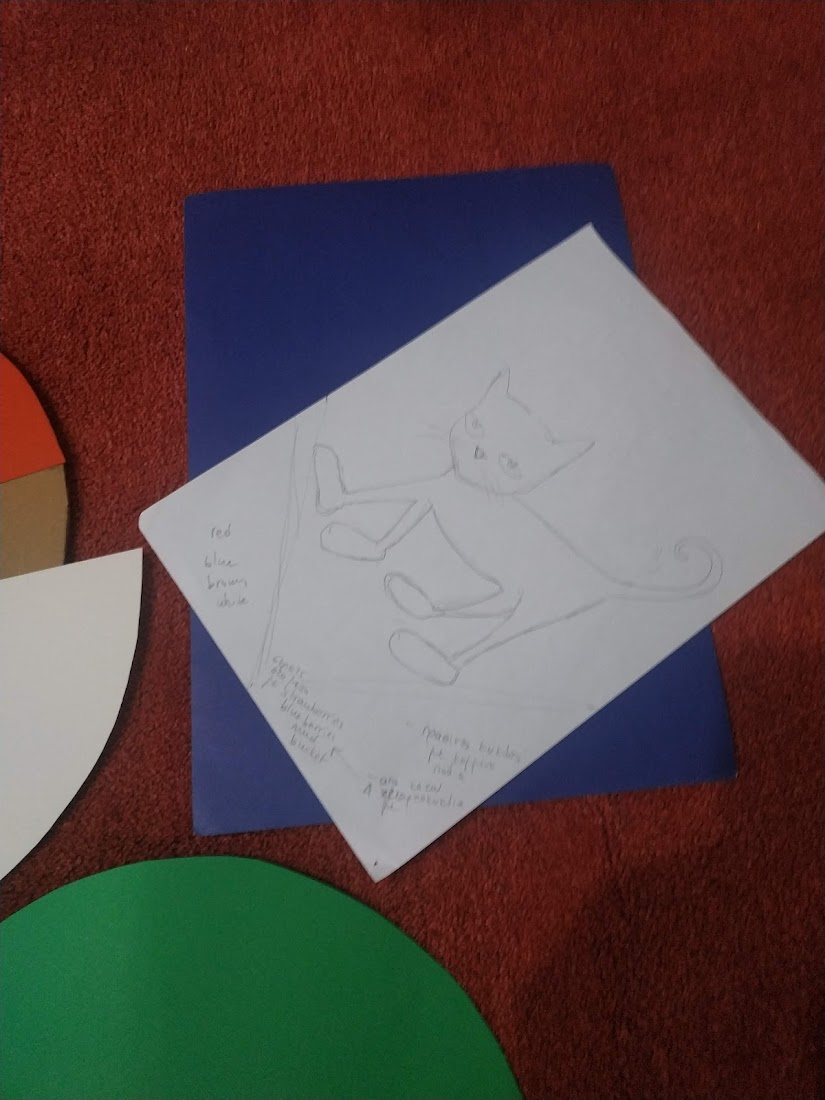
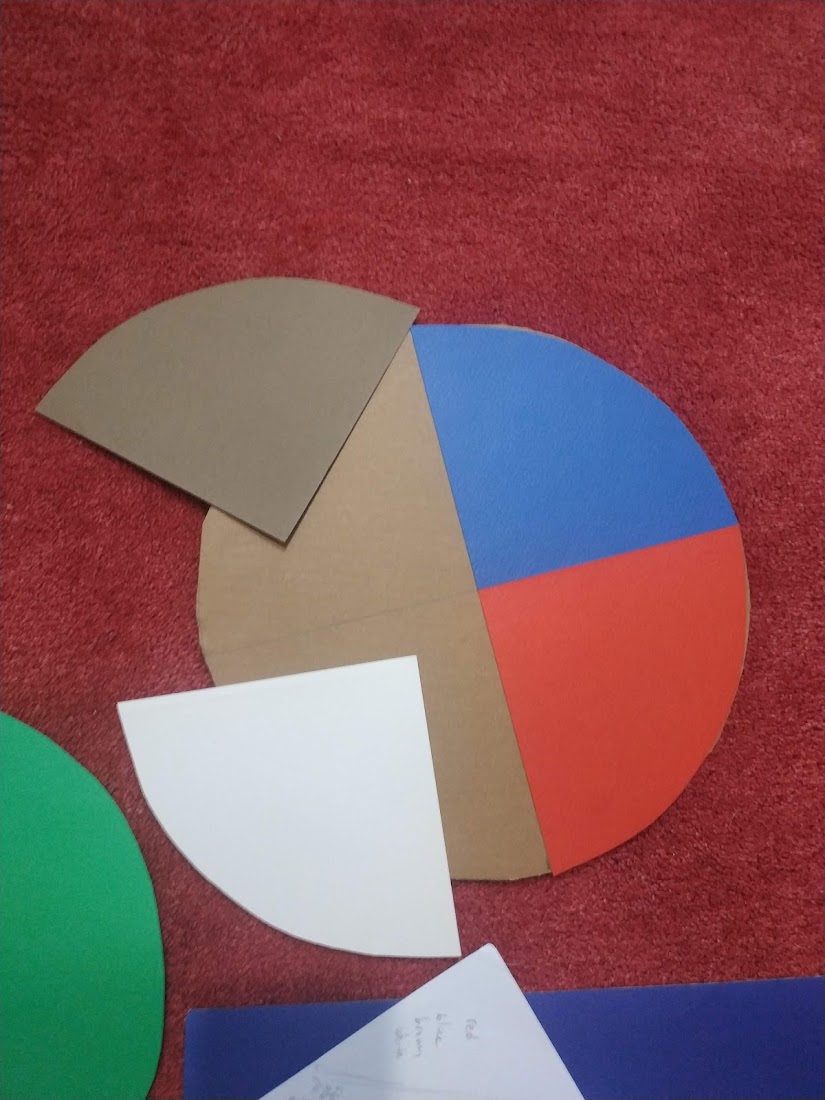
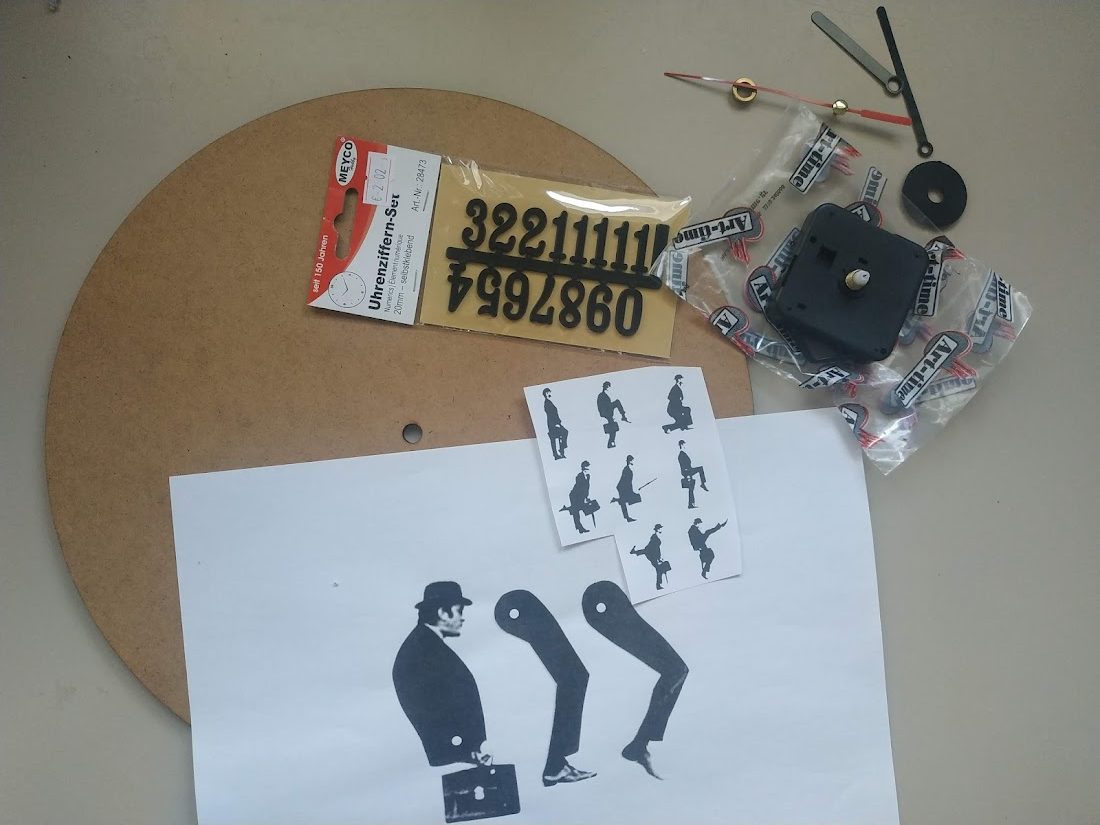
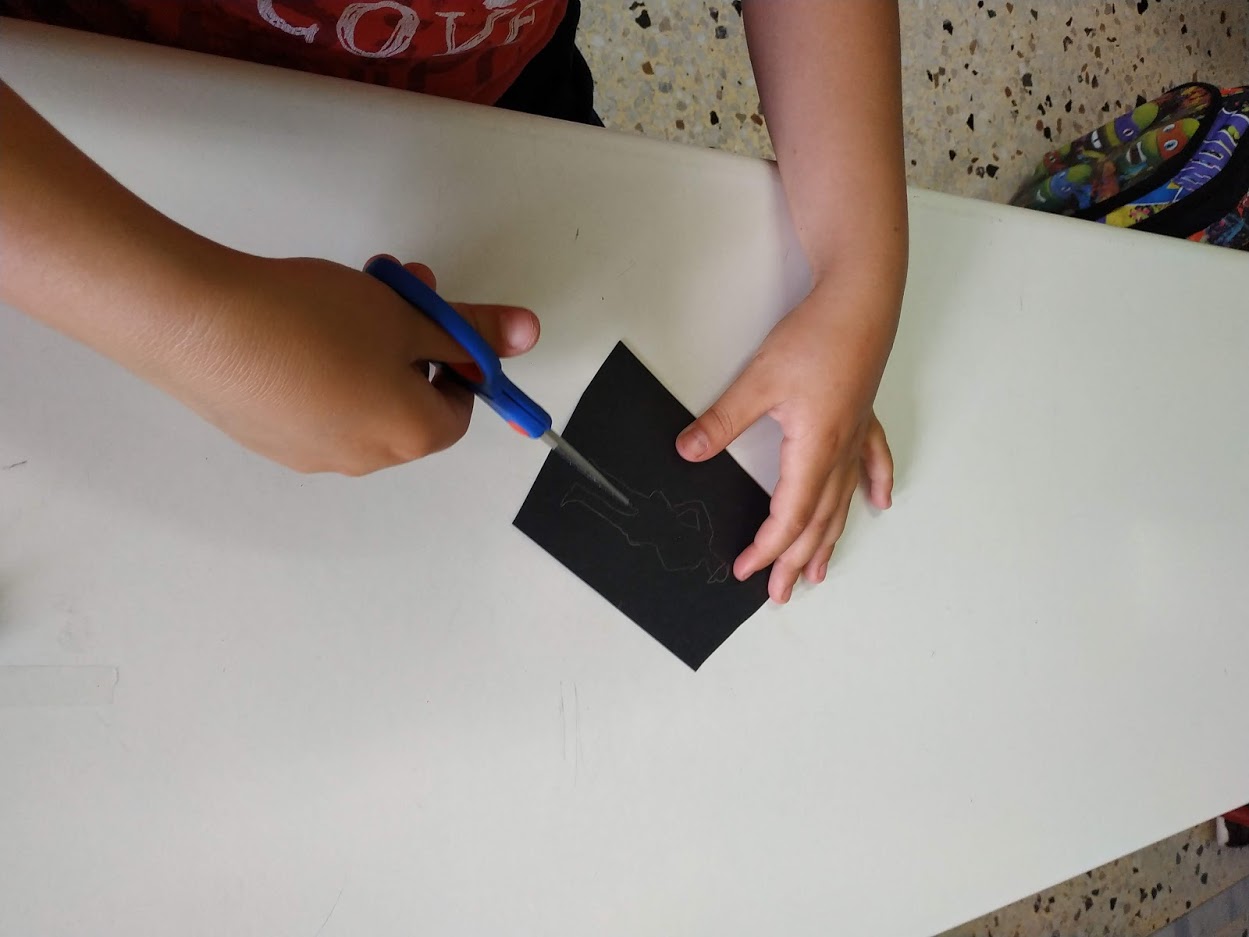
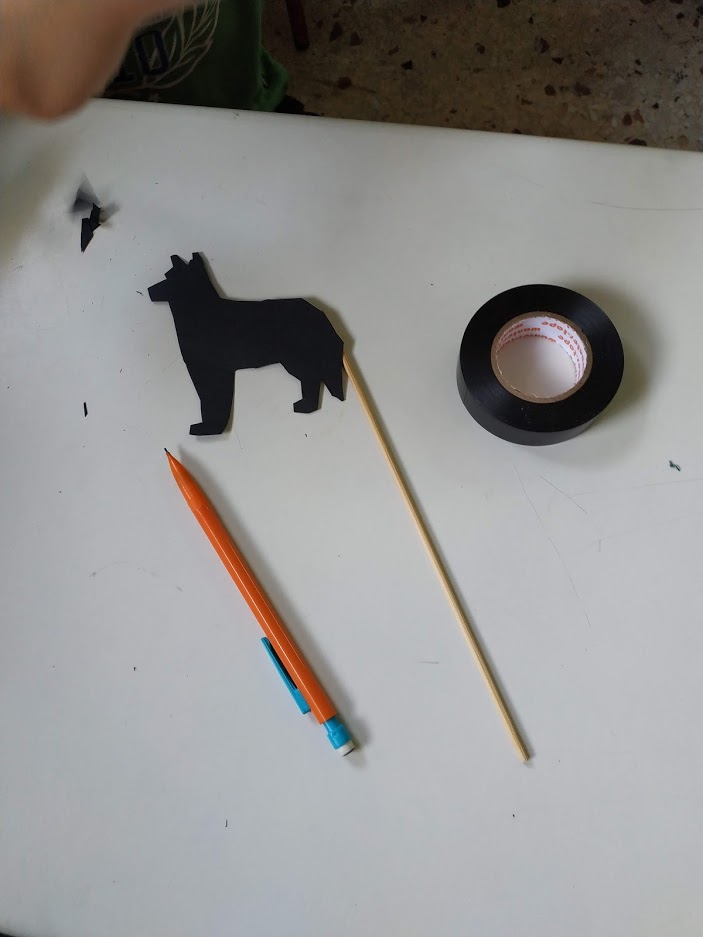
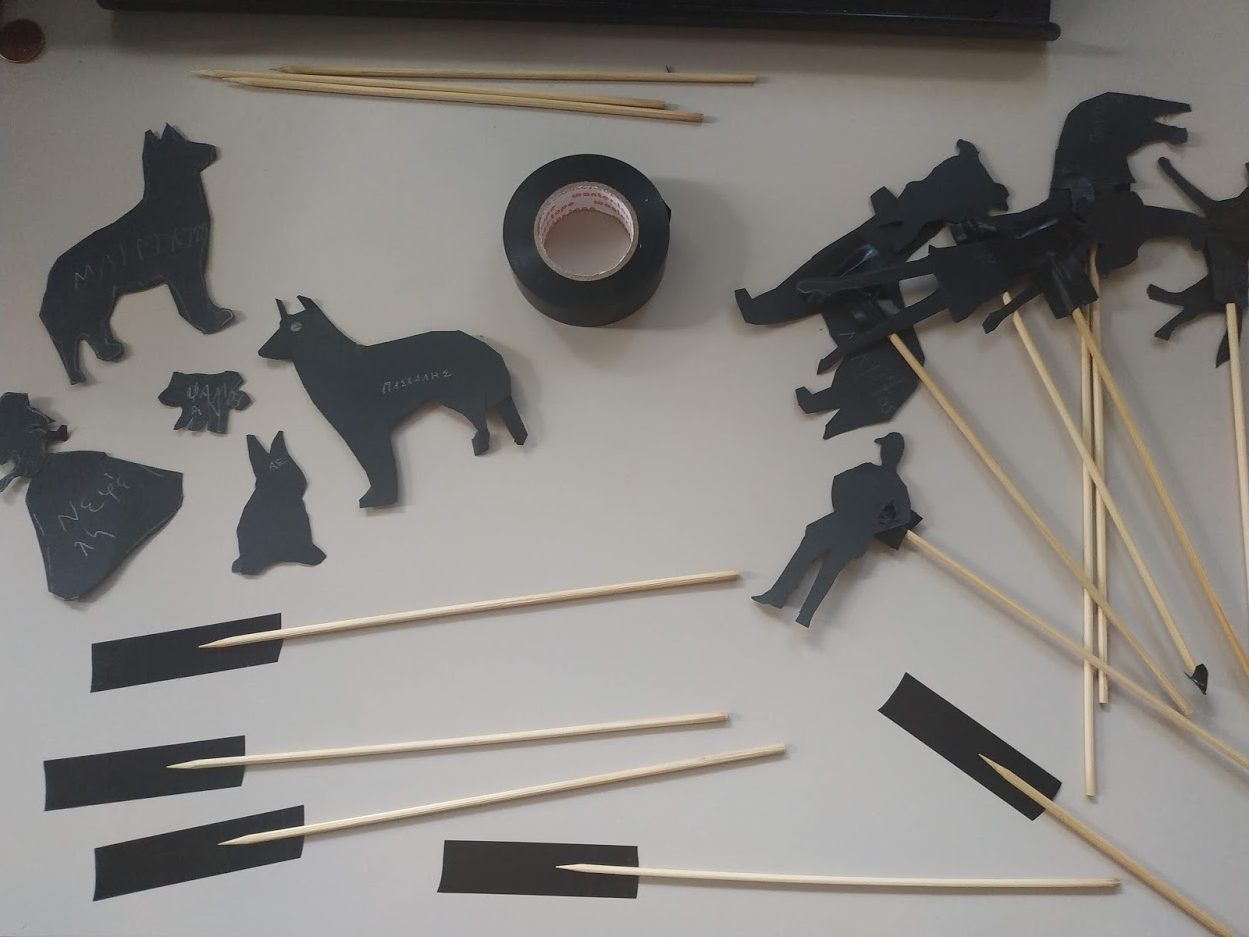
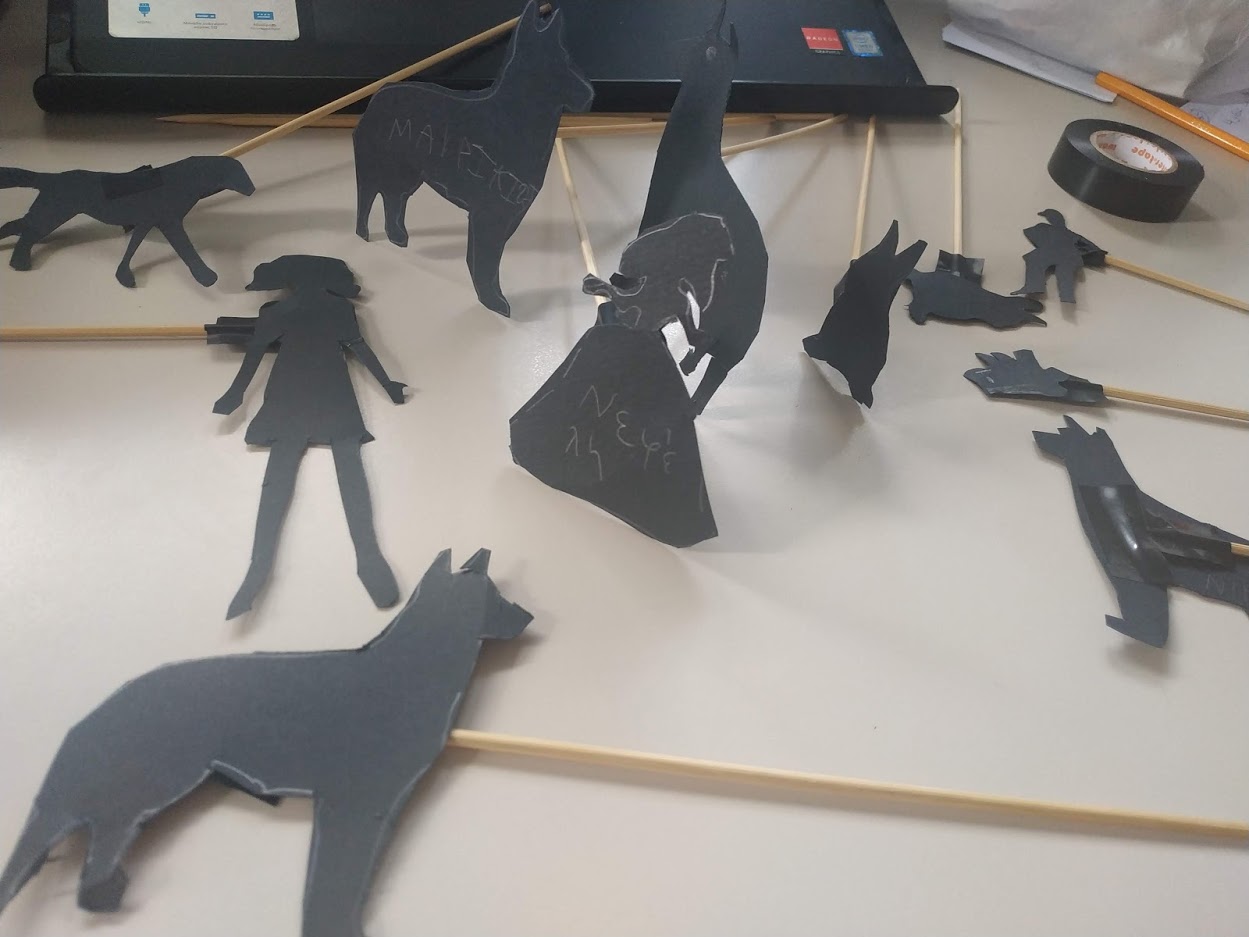
You can see the making of the chair here:
Book Inspirations:
“Dogman”(by Dav Pilkey) – A half-dog, half-cop hero fights crime with humor and heart. 
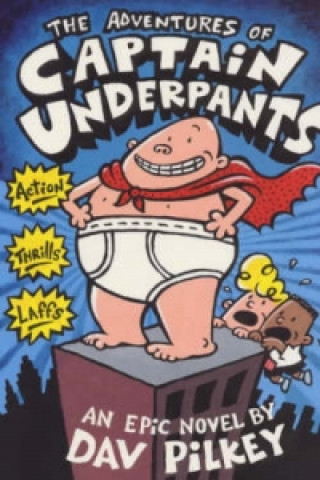 “Captain Underpants” (by Dav Pilkey) – Two prankster kids turn their grumpy principal into a superhero in tighty-whities.
“Level Up” (by Antonis Papatheodoulou) – inspired by the world of gaming and the level up mania in apps and games, this is a story of two game characters and what power really is! 
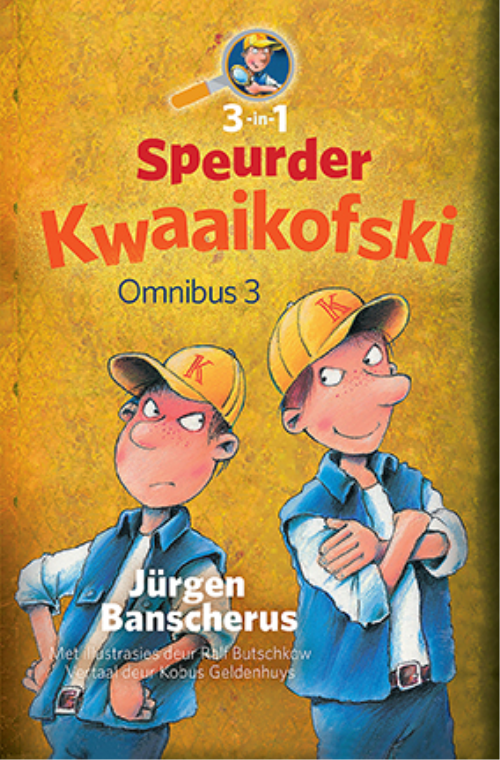 “Detective Clues” (‘Speurder Kwaaikofski’ in its German editions by Jürgen Banscherus) – Clues (Kwaaikofski) is a natural talent of a private detective! Give him a glass of milk, Carpenter’s gum and his special hat and he is ready for anything!
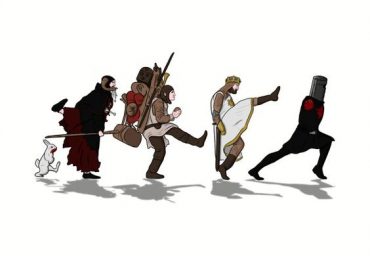
“Asterix in Britain” (by Goscinny & Uderzo) – Gauls Asterix and Obelix battle Romans with magic potion and British tea. 
 “Winnie the Witch” (by Valerie Thomas) – An adorable witch and her long-suffering cat Wilbur cause magical mayhem.
“Where’s Wally?” (by Martin Handford) – A global hide-and-seek adventure in crowded, detailed scenes. 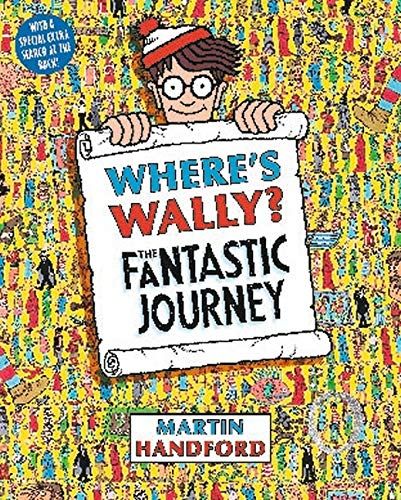
 “Trianglefish” (by Vaggelis Iliopoulos) – A ‘different’ fish saves his school by turning his difference—the very trait mocked by others—into their salvation
“Ouch!” (by Ragnhild Scamel) – A humorous and charming story about a hedgehog who tries to prepare for winter but keeps getting unexpected items stuck to her prickles instead of leaves. 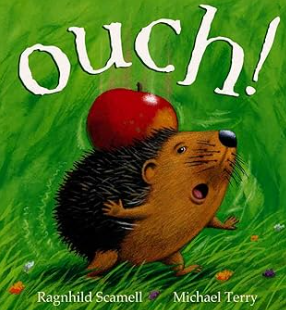
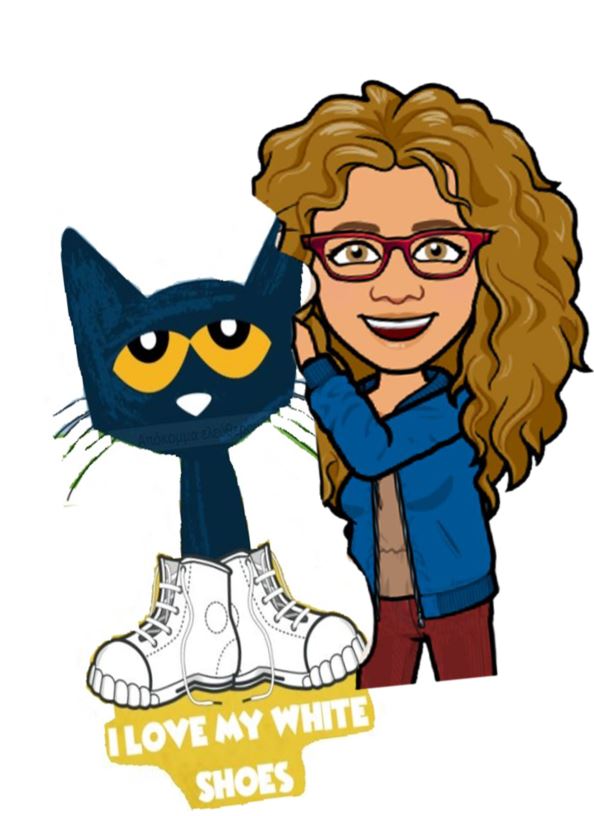
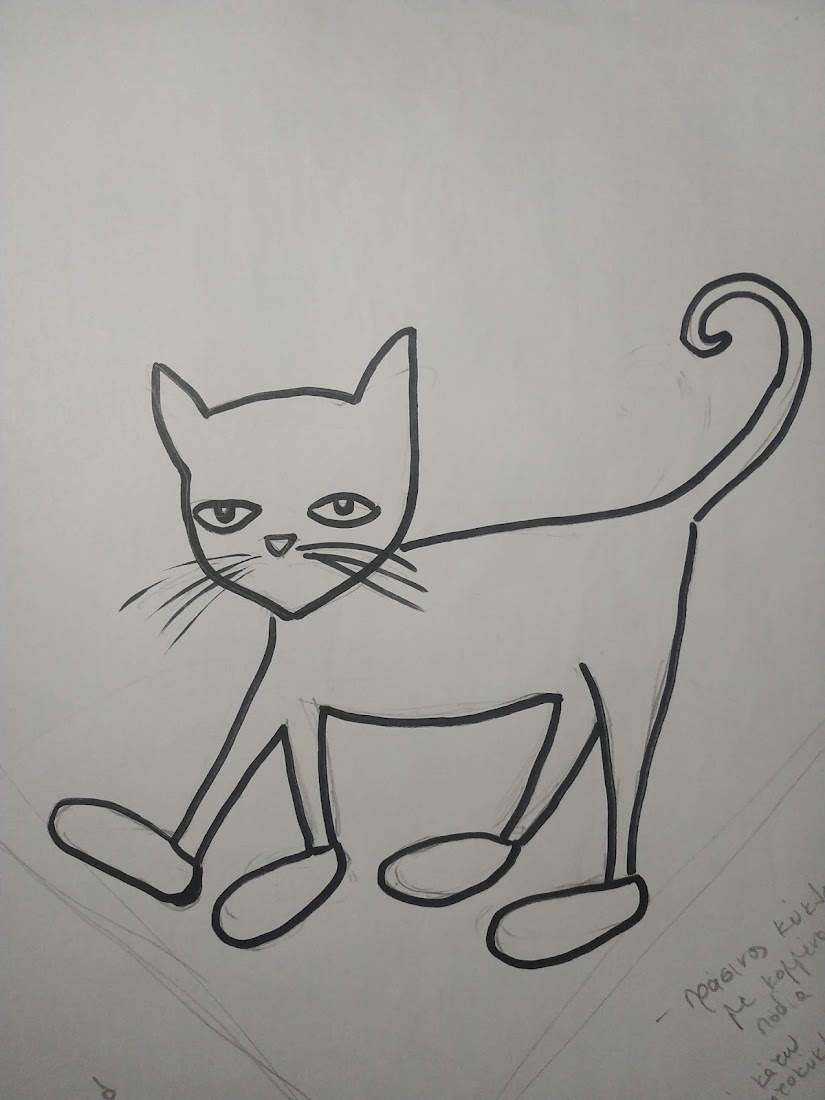
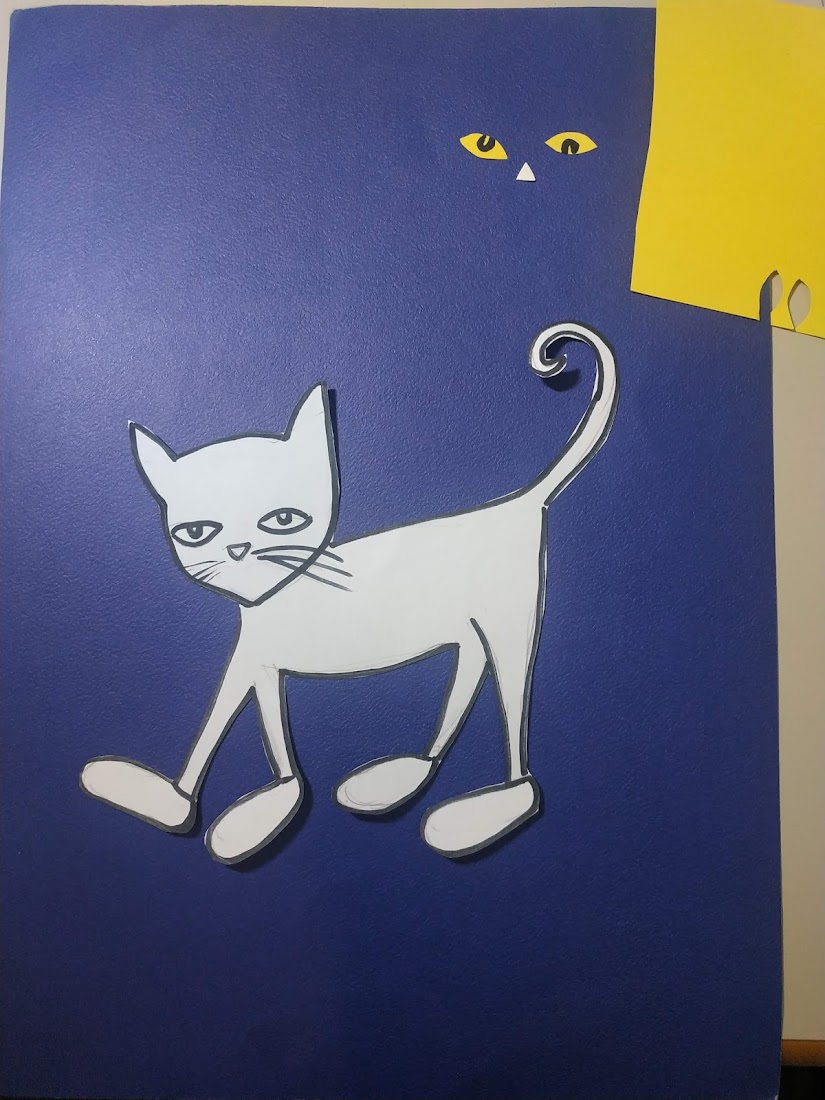
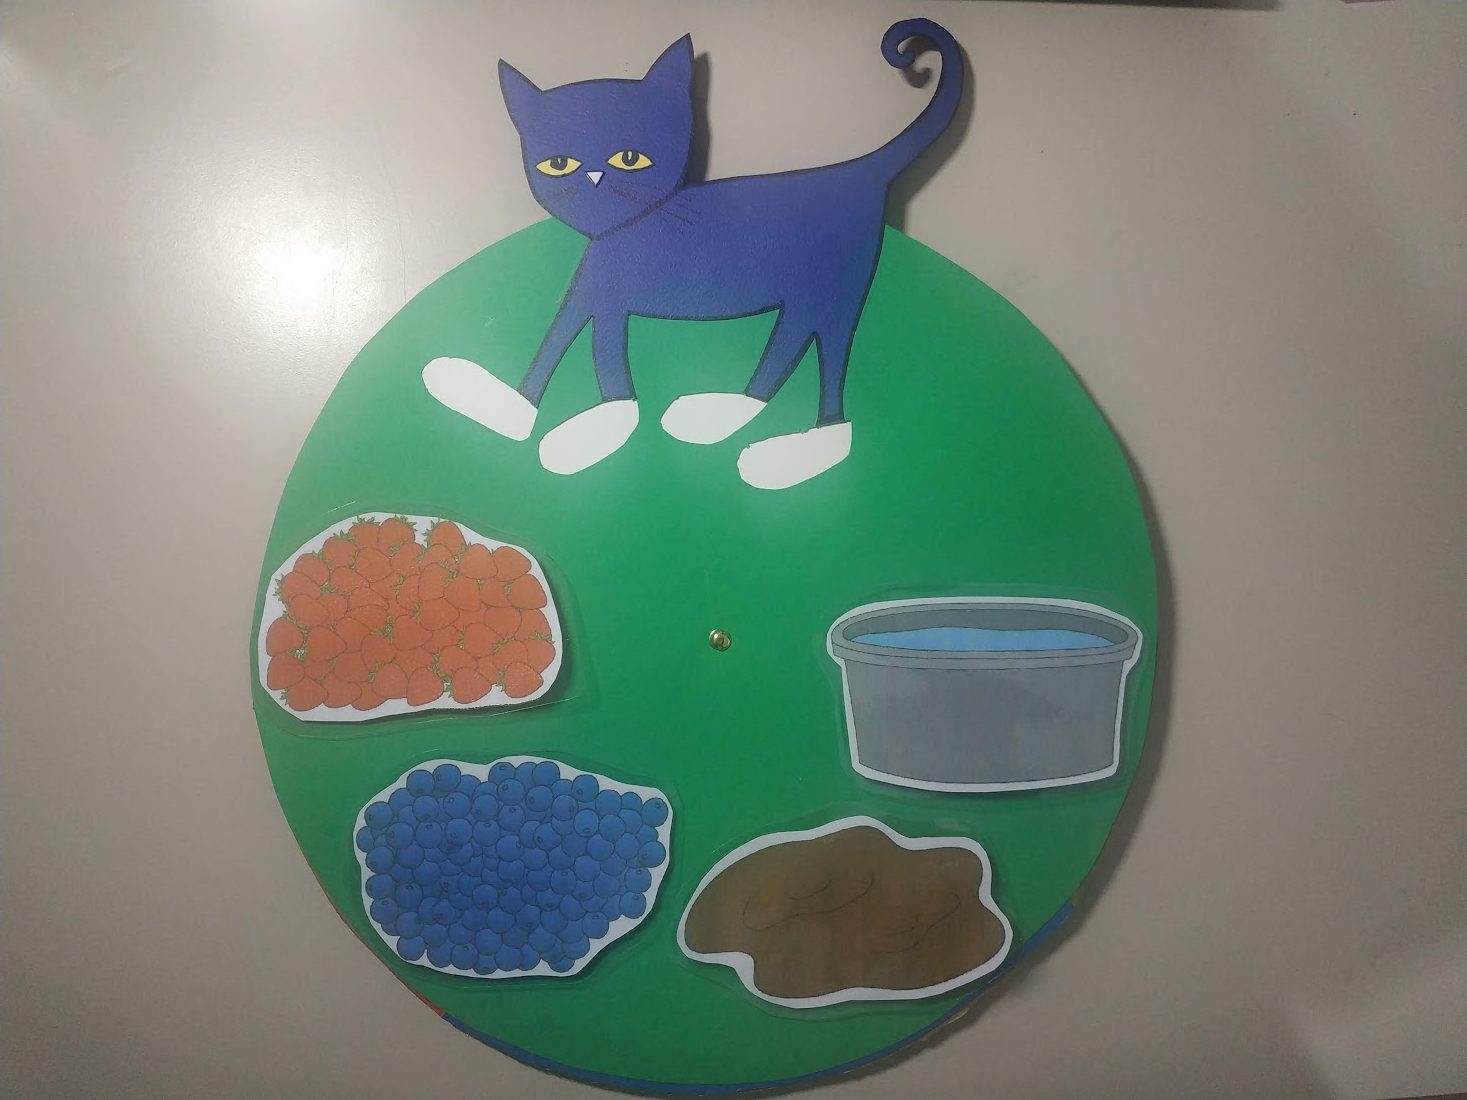
 “Pete the Cat: Rocking in My School Shoes” (by Eric Litwin) – A book that follows groovy Pete as he explores his school while singing and adapting to new experiences with a positive attitude.